Inside: Use these 5 steps to set up a calming corner in your kindergarten, or early childhood classroom to better meet the social-emotional needs of your children.
This post contains affiliate links, but please know that I was not solicited by any of the above businesses to promote these products and am super picky about what I choose to share with all of you. In some cases, I do not receive any commission, and in the few cases that I do, it is a small compensation that I accept for the time and energy put into sharing this and other posts with my readers.
Adding a Calming Corner to My Kindergarten Classroom
Two years ago, we welcomed a new principal, and one of the initiatives she put forth was requiring every classroom have a cool-down zone. I was excited to add this to my space, and knew it would help me better meet my children’s social-emotional needs, but first needed to think through how to set it up and use it.
Here are the steps I used, that you might also try, in setting up your own calming corner.
Step 1: Identify the Purpose of Your Calming Corner
The first step for me was to think through how I wanted to use the space. I knew I wanted it to meet many social-emotional needs, and not be limited to just a place for high energy or angry kids to “cool down.” So, I thought calling it a “calming corner” might be a better fit, as I knew I would have children who were sad or hurt that might also need a space to deal with these feelings.
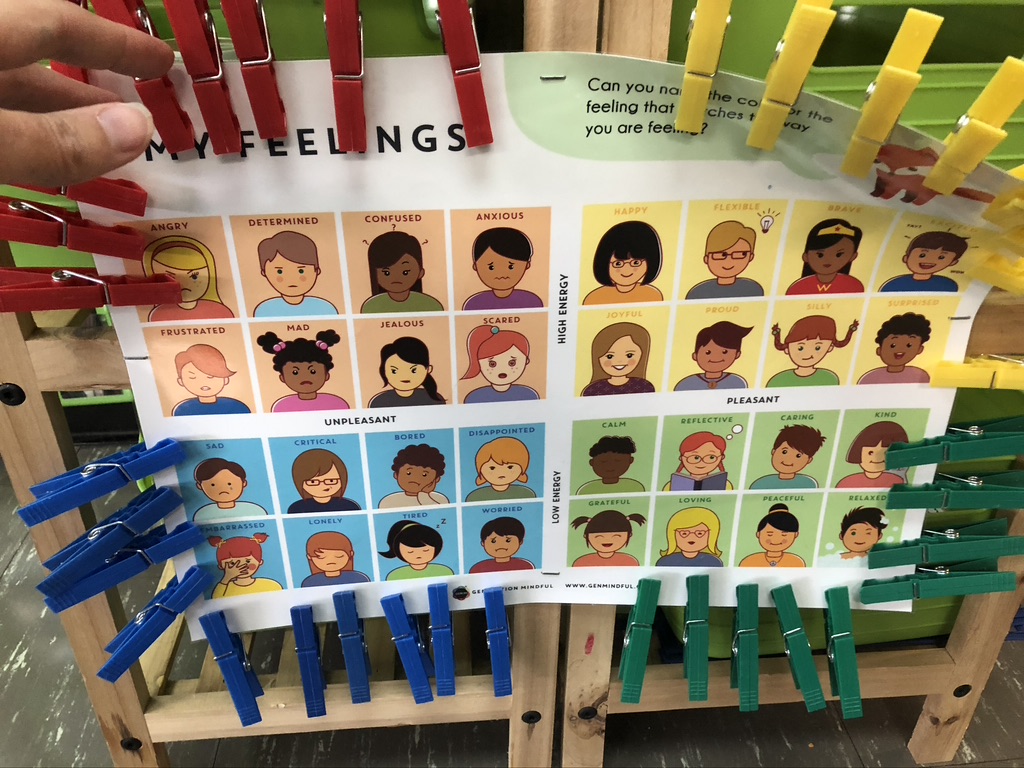
I also liked that the name “calming corner,” told the purpose of the space, which was to notice feelings and use strategies to bring children to a more calm and alert place that was best for learning. We’ve come to call this the “green zone.” (more about that later!)
Your Turn: Make a list of all the different ways you want to use your calming corner. Think of a name that will best fit the space and its purpose. Colleagues of mine use, “break spot or zone,” which also works well as it identifies what kids will do when they visit and suggests a strategy, taking a break.
Step 2: Create a Calming Corner Tool Kit
Now that I had a name and purpose for the space, I began searching for posters and sensory tools that would support my students in using the calming corner. My search led me to Generation Mindful, whose big goal is to create an emotionally healthy world.
I immediately loved their Teacher Tool-Kit which was playful, included tangible tools, and used a relational approach to skill building. I ordered the standard kit and began reading through all the material. It teaches children the importance of taking a “time-in,” vs. “time-out,” to notice their feelings and calm their bodies and minds. A “time-in” is never used as a consequence or punishment, rather a coping skill to help children learn to self-regulate.
I especially loved the My Feelings (see above) and My Calming Strategies posters as they gave both the children and I the tools and language we needed to make the calming corner really work for our classroom.
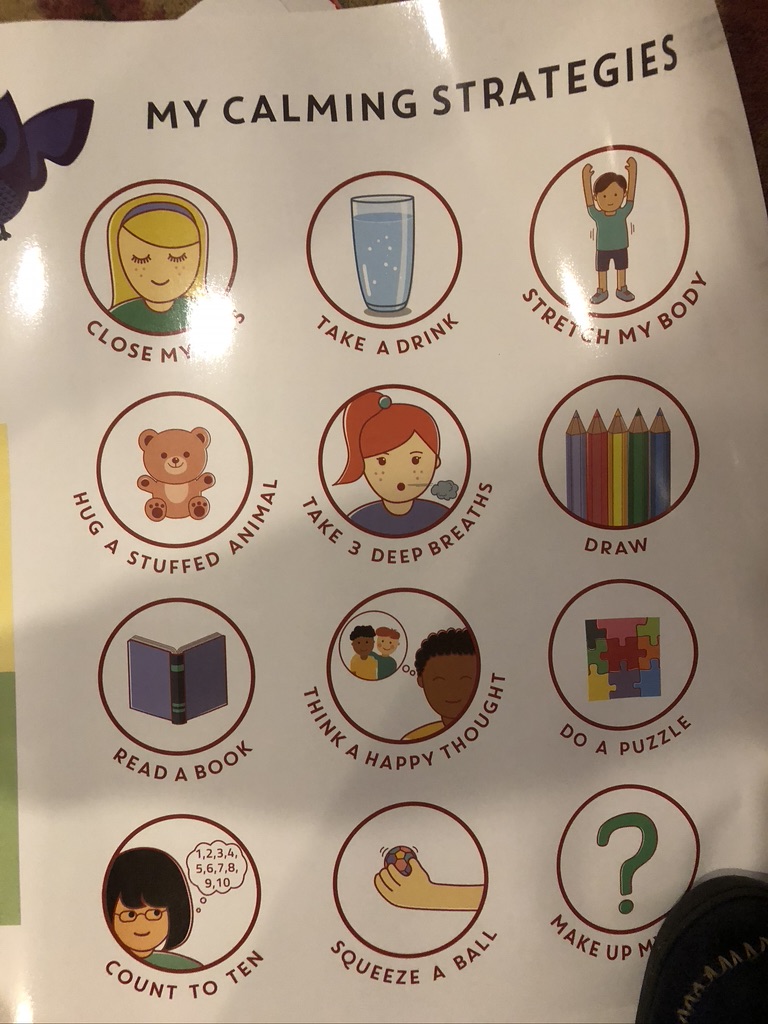
I used the ideas found on this poster as a jumping off point to create our calming corner tool kit. I also included sensory fidgets, yoga deck cards, water bead squishies and children’s books about feelings such as When Sophie Gets Angry, Really, Really Angry or When Sophie’s Feelings Are Really, Really Hurt, both by Molly Bang.
Your Turn: Make a list of tools and strategies that you already have that could be placed in your calming corner. Some will require materials such as squishy balls or puzzles, while others will not, such as counting to 10 or doing a breathing exercise. Make a plan to introduce each tool and show children how to use them.
Step 3: Designate a Space
The next step was to designate a spot in my classroom that could be used as the calming corner. While it didn’t actually have to be a “corner,” mine ended up being one. I included a child-sized gym mat and a bouncy ball chair that kids can use while in that space as well as a special box that became our “tool kit” and contained all of our “time-in” tools.
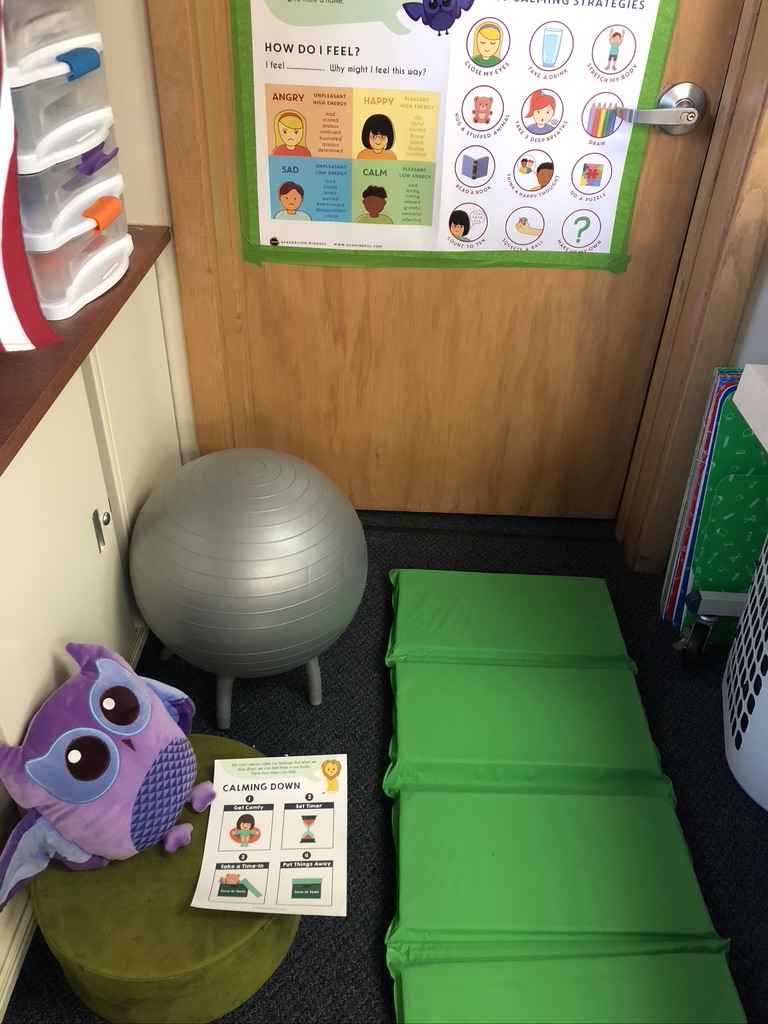
Your Turn: Look around your classroom space for a spot where children might go when they are dealing with some heavy emotions or need to take a break. Consider its distance from your teaching area and whether or not it is within your sight lines.
Outfit the space with posters that help children know the time-in steps, as well as the calming strategy choices they have to choose from. You might even create these posters together with the children. Include a few soft items such as mats, stuffed animals, or pillows and a special box for your tool kit.
Step 4: Build Social-Emotional Language
Once the physical space was set up, I needed to support children in using language that helped them express how they were feeling. I used Generation Mindful’s My Feelings Chart because it organized feelings into colors (similar to the Zones of Regulation) and identified these zones as high energy/low energy and pleasant/unpleasant.
For example, if a child is feeling silly, he/she is in the yellow zone, and experiencing a high energy, pleasant feeling. But if a child is feeling lonely, he/she is in the blue zone, and experiencing a low energy and unpleasant feeling.
This chart, and ultimately this “feelings language,” not only helped my students recognize and name their feelings, but also to notice and verbalize how it feels in their body. This is a key element in helping young children develop self-awareness and regulation.
Along with the My Feelings Chart, we used Generation Mindful’s Snuggle Buddy, during morning meeting as a tangible tool to talk about our feelings.
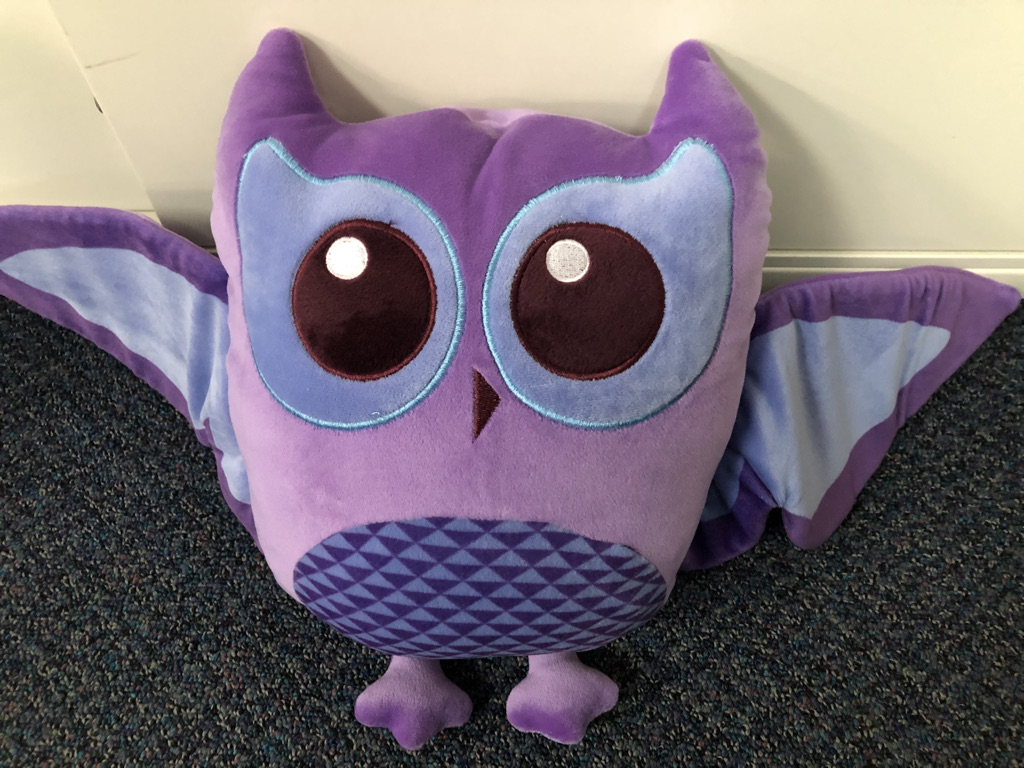
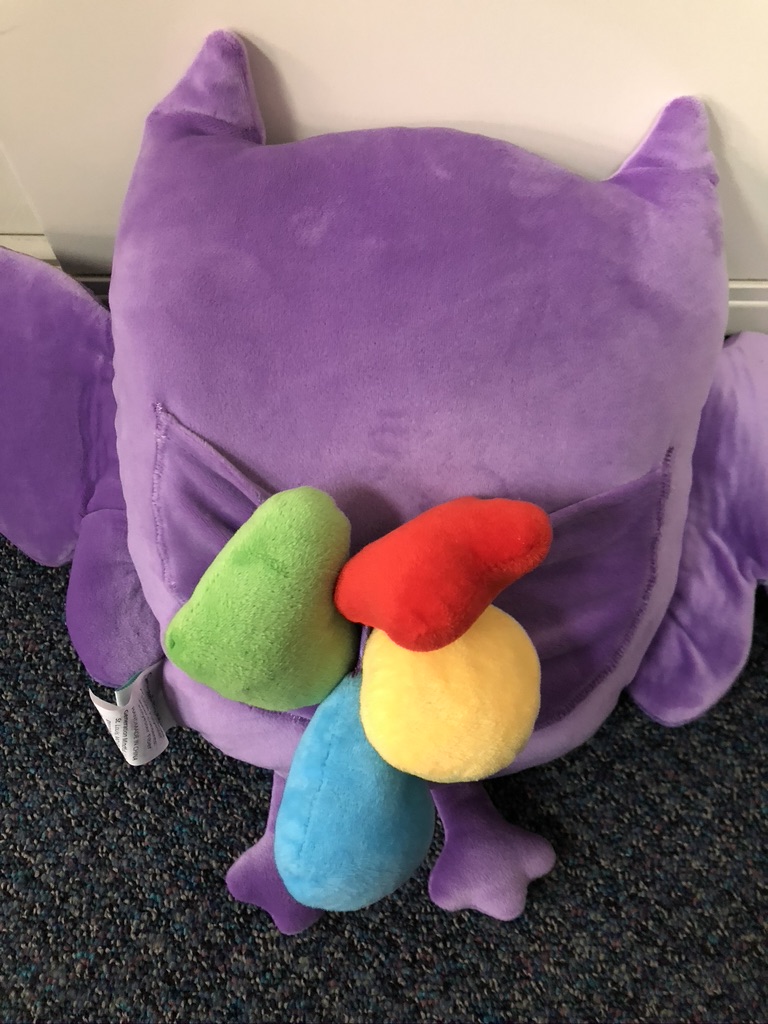
On the back of the Snuggly is a pocket containing four colorful shapes that represent each feeling zone. We passed the owl around the circle and children squeezed the shape to share how they were feeling.
We also referred back to the feelings chart during daily read alouds, where we identified characters’ feelings, told which color zone they were in, and made text-to-self connections.
Your Turn: Think through how you will help children build a feelings vocabulary, as well as recognize how those feelings show up and feel in their bodies. Make a list of children’s books that will help you to do this. There are lists contained in this resource, Exploring Feelings Through Read Alouds that you might be helpful.
Be on the lookout for 4-colored objects such as these juggling balls, water bead squishies, or googly-eyed pom poms that can help children feel comfortable sharing feelings in a concrete, tangible way.
Step 5: Teach Children How to Use the Calming Corner
Once I’d identified the purpose of my calming corner, created a tool kit, designated a space, and began to build social-emotional language, we started learning how to use the space. To do this, we role played instances where we might use the calming corner and children were selected to model the steps they would take while in that space.
I also set aside time to let each child visit the calming corner, to not only walk them through the steps, but more importantly, to satisfy their curiosity about the space and all the cool things in it. I highly recommend this step before you officially “open the doors.”
Your Turn: Make a plan for rolling out your calming corner. Include opportunities for role play as well time for each child to visit. Opening up this space is similar to introducing bathroom procedures – once you do, they all have to go. Plan for this by following your roll-out with an activity that allows for them to get this out of their system. If you do this, you will soon notice that the space is then used more naturally, as you intended.
Beyond the 5 Steps
The time I invested initially in thinking through and setting up a classroom calming corner was well worth it. I’m thankful that our new principal had the vision to imagine a school where all classrooms made social-emotional learning a priority.
For me, setting up a classroom calming corner was the first big step. It forced me to really think deeply about the language I wanted to use when talking to children about their feelings and behavior. It also forced me to search for actionable strategies to teach children that would help them learn to cope with their feelings and ultimately improve their self-regulation.
Kindergarten Classroom Setup Made Easy!
Looking for some guidance on classroom setup? Download this free Classroom Setup Toolkit that will help you think through some of the decisions you’ll need to make before setting up your classroom space. You’ll find tips and tricks on classroom layout, colors and themes, furniture, wall decor, and materials and storage.
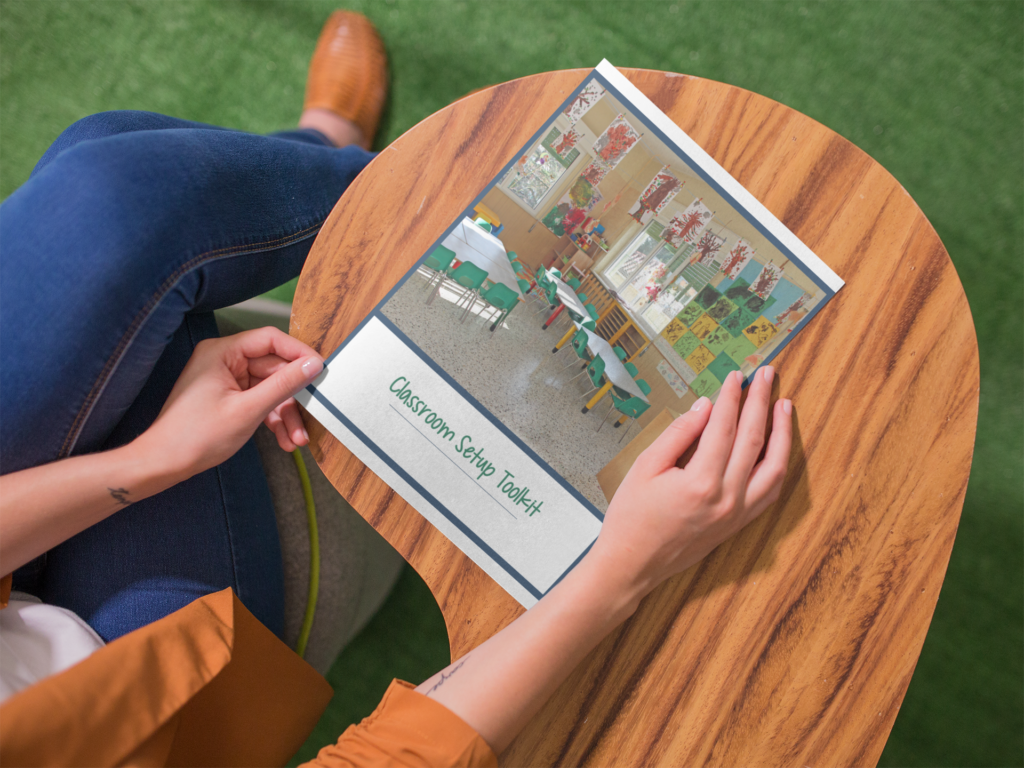
For more information and ideas on classroom set up and design, visit the Growing a Learning Space category in the Roots & Wings Resource Library.
Roots & Wings is a participant in the Amazon Services LLC Associates Program, an affiliate advertising program designed to provide a means for sites to earn advertising fees by advertising and linking to Amazon.com.


 Reggio-Inspired Kindergarten: Classroom Materials
 Why I Don’t Have a Dramatic Play Center in My Kindergarten Classroom
 Playful Encounters with the Reggio Emilia Approach
 Preschool Classroom Tour: The Waterfall Room
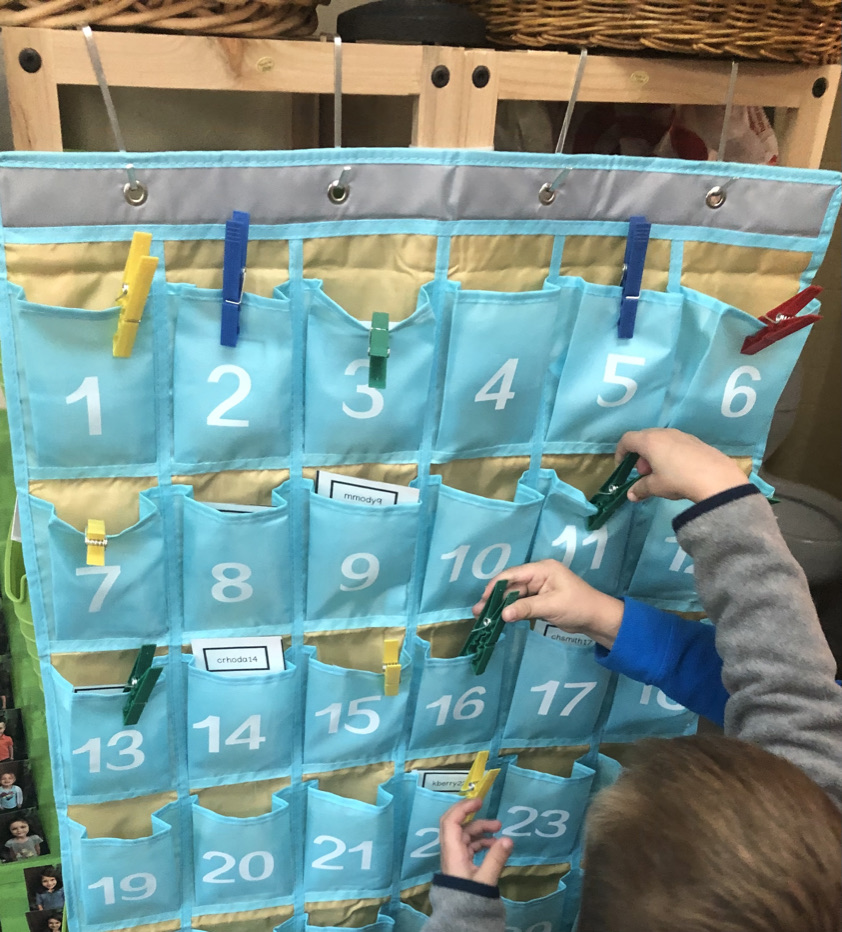
Hi! I love these ideas. I use a similar emotion chart system but love the numbered pocket idea. When I tried to click on the link about the number pockets, it did not work – was that for the product, or more about how you use them? I would love to know what else you use the pockets for!
Hi Kerry! Sorry about the link – I fixed it and it should take you there now. I bought this thinking that the kids could keep their snack or water bottle in it, but the pockets were too small. We ended up using it to store their username/passwords for iPad programs. Years ago, I used something similar to store, “I Can” cards, that the kids earned when they mastered a skill (i.e. letter names, rhyming, etc., zipping coat, etc. Then, at the end of the year, they took them home.