Inside: Discover the steps for creating easy leprechaun traps with your kids, that will add some fun, magic, AND learning to your St. Patrick’s Day activities.
Note: Some of the links in this post are Amazon affiliate links. If you click on the link and purchase the item, I will receive a small commission at no extra cost to you. The links are included to provide easy access to items I have personally chosen, purchased and used in my own classroom.
Not So Easy Leprechaun Traps
Truth be told, I used to invite families to create a leprechaun trap with their kids as a homework assignment, because I was too chicken to take on a big project like that in my classroom. I just wasn’t sure how to manage it all without losing my mind.
At the time, making leprechaun traps with kindergarten kids didn’t seem like an “easy” take-on, but when I broke down the steps into manageable “bites,” it became very doable! And I could then see ALL the learning opportunities that it would provide my kiddos that would make it well worth our instructional time.
The Road Map to Easy Leprechaun Traps
By using this engineer-design road map, it not only gave us an easy path to follow, but more importantly, it provided rich learning opportunities to boost our growing STEAM skills.

In this post, I’ll walk you through the steps shown above and help you see just how fun and easy leprechaun traps can actually be!
Step 1: Introduce the Problem
All engineer-design tasks begin with a problem. In this case, I set up a prank (i.e. green footprints, toilet paper trail, overturned chair, etc.) and the problem became one of trying to catch a leprechaun that is loose in our school. (After all, we have evidence of it, right?)
I then asked kids for ideas on how we could solve this problem and there was lots of enthusiasm around the idea of creating a trap. Our next steps flowed easily from there.
Step 2: Explore Leprechaun Trap Designs
This is an important step and one that is often skipped with STEM projects. Before children set off to build their trap, we first spent time getting to know the traits and habits of their potential “captee” by reading books about leprechauns such as How to Trap a Leprechaun by Sue Fliess, How to Catch a Leprechaun by Adam Wallace, or Three Ways to Trap a Leprechaun by Tara Lazar.
We also viewed examples and demonstrations of traps via websites and videos, so children could begin to picture what they eventually would build. Another great resource is How to Build a Leprechaun Trap by Larissa Juliano.
I also had children draw sketches of a few of the model traps they viewed. This helped them look closely at the features and details of each design.
Step 3: Design Your Leprechaun Trap
Once children had seen many different trap designs, I gave them each a piece of graph paper and invited them to draw a design sketch of the trap they would build. I encouraged them to label the parts and draw arrows to show the path that the leprechaun would take.
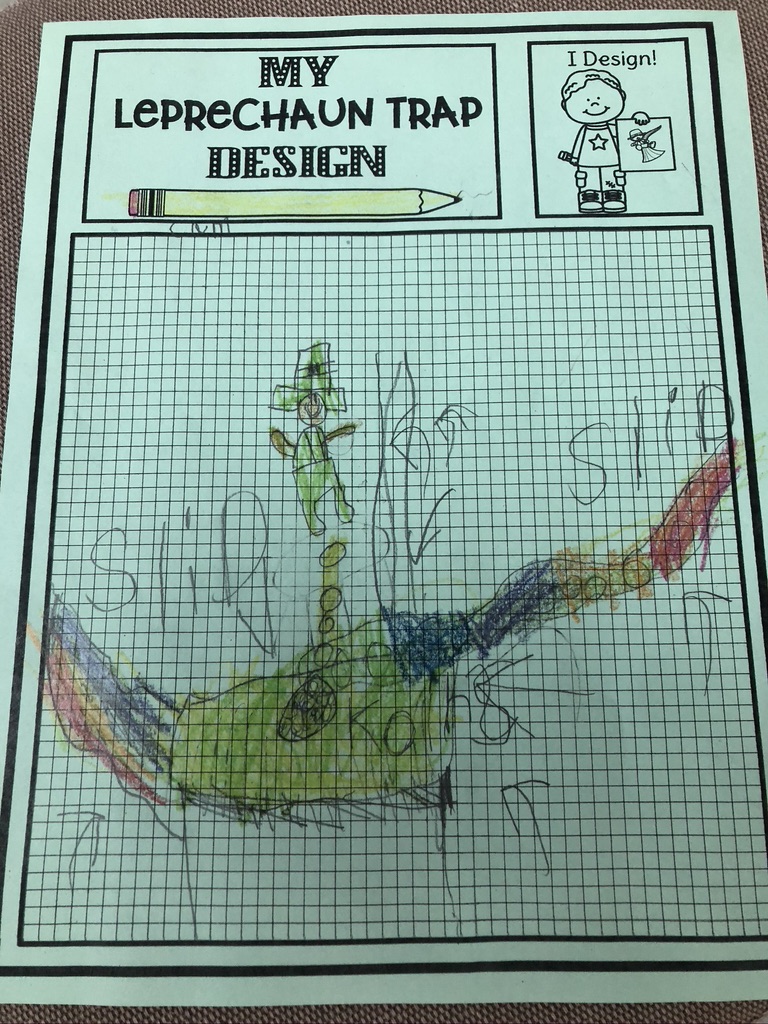
The children then shared their leprechaun trap designs with a partner and explained how it worked. The partner was encouraged to ask questions and give feedback about the design.
Step 4: Build Your Leprechaun Trap
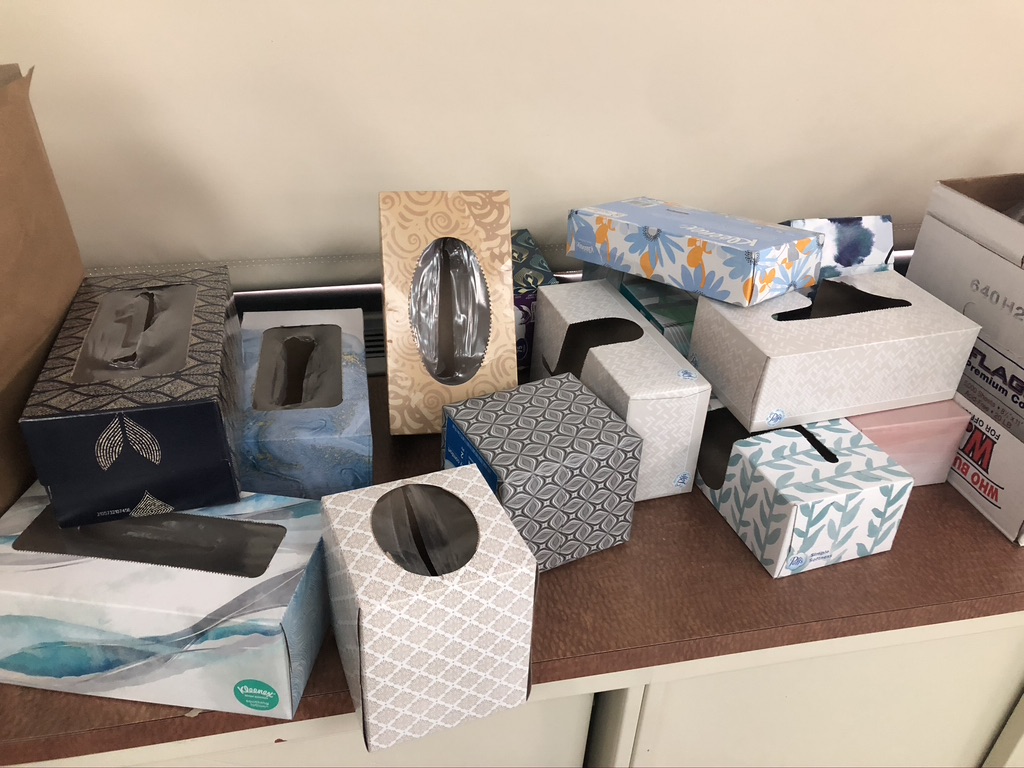
To simplify the building process, I gave each child the same base to begin building from – a tissue box. The tissue box works well because it already has a built in opening at the top for the unsuspecting leprechaun to fall in! Other base ideas include cups, shoe boxes, or milk cartons. I asked families to send in donations, but you can also ask each child to come to school with their own box.
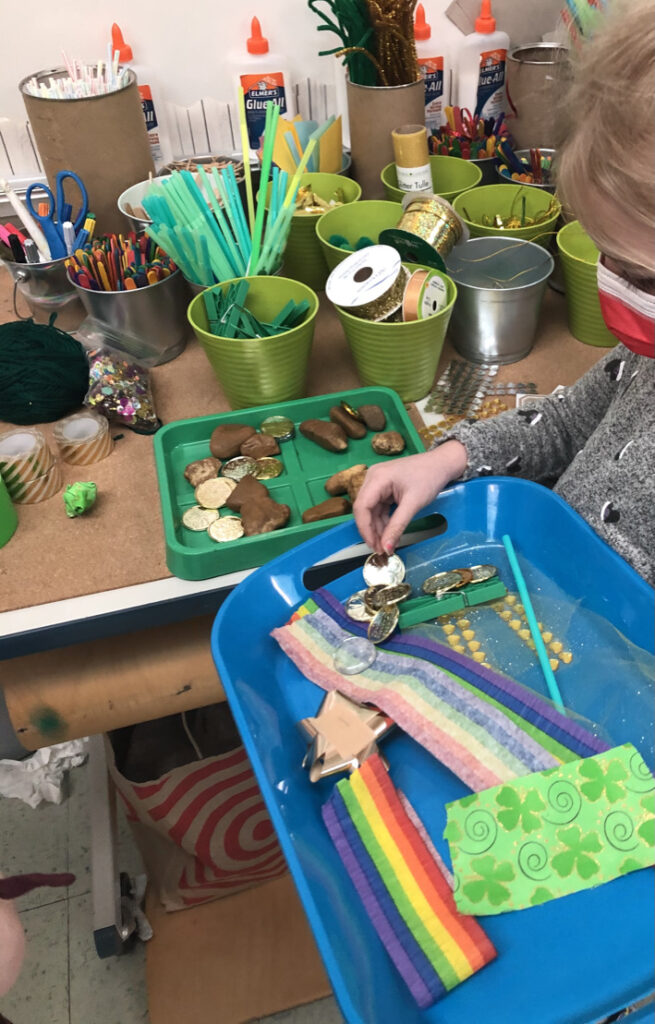
We brainstormed other materials that the kids might need and created a list. I rounded up the supplies myself, but you could also create a “wish list” and ask families to donate supplies. And don’t forget to search your cupboards and closets for all things green, gold, or rainbow colored. You might be surprised at how much stuff you find!
All materials were made available to kids in our classroom makerspace, with each item sorted into its own container. The children used trays to “shop” for their materials as well as for a workspace. These work well because they are easily moved to floor, desk, or table areas or to store a “work in progress,” for kids who are not yet finished.
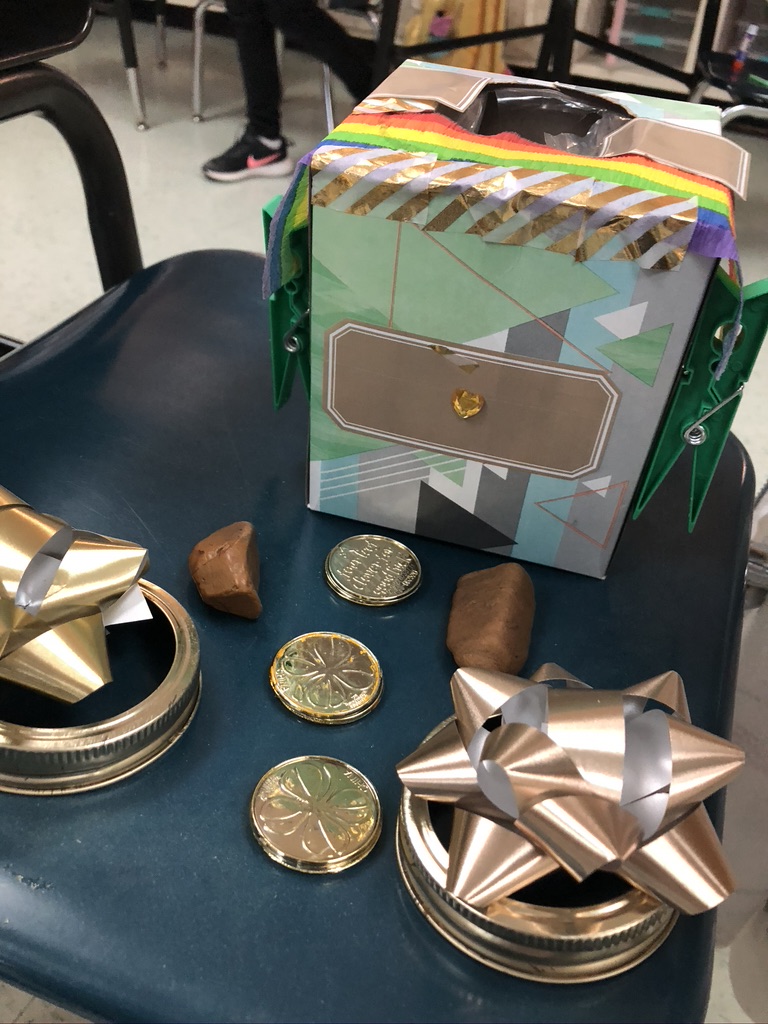
Once the traps were finished, I invited each child to take a turn demonstrating how their trap worked and to take questions and comments from the class.
Step 5: Test Your Trap
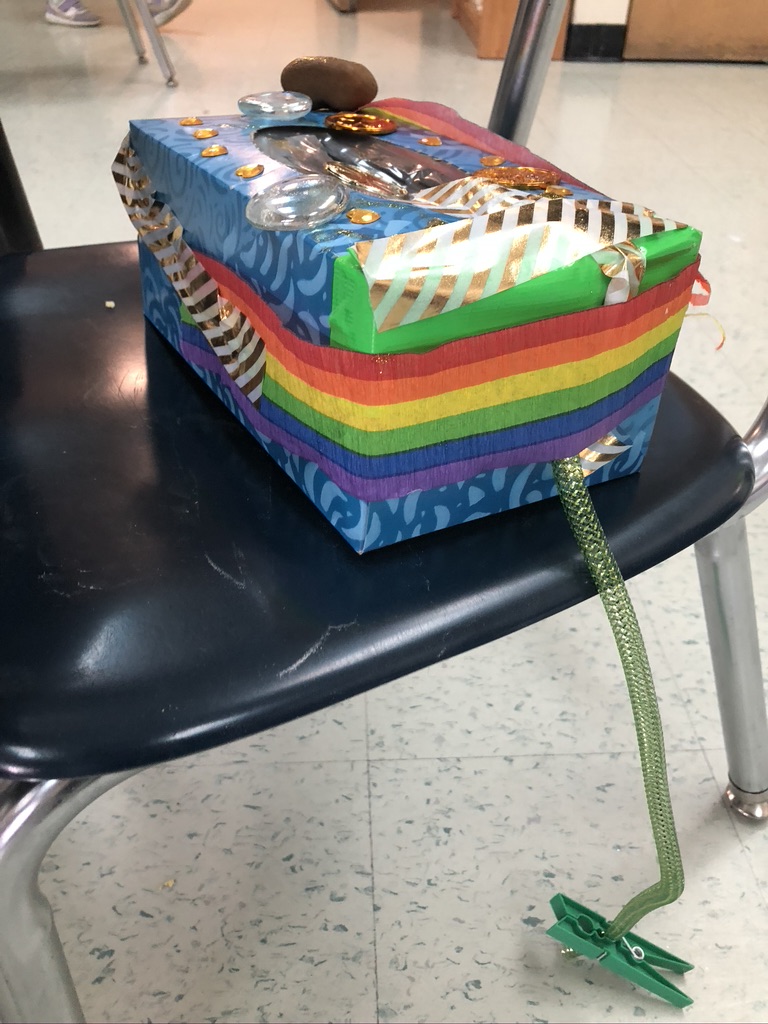
The ultimate test was on St. Patrick’s Day when the kids set up their traps and quietly exited the space with great anticipation of what might happen next. Right before lunch or specials works well for us, but they can also set their traps before leaving school on The Night Before St. Patrick’s Day in hopes of some overnight leprechaun magic.
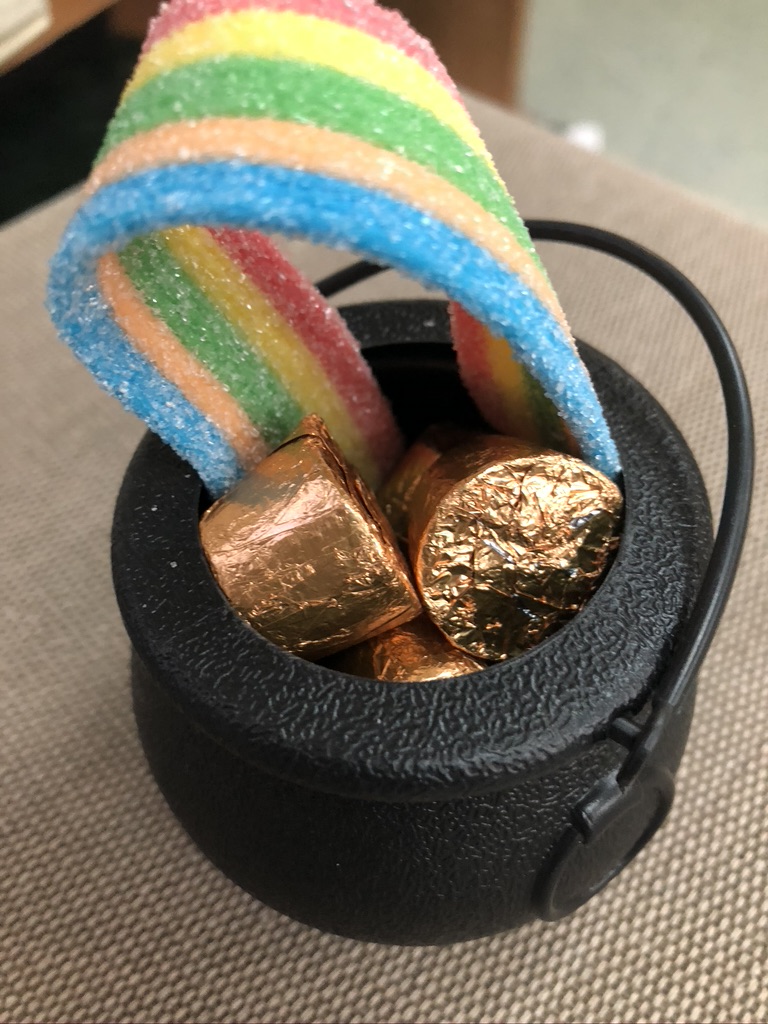
I then snuck in and left my “jr. engineers” a special treat for their efforts. Each mini pot of gold contained a few Rollos and a Rainbow Sour Belt, along with a note for children to discover when they return. While they might have been disappointed that they didn’t catch a leprechaun, the special surprise seemed to make it all okay.
We then spent some time evaluating our traps and rating them on how well they worked. “Great,” “Okay,” or “Not so well,” were the 3 ratings we used and children were pretty honest about their evaluations. I also asked them to share one thing they would add or change about their trap to make it better.
Step 6: Tell About Your Trap
I then Invited kids to use the engineer design steps they had just taken as an outline for presenting their project to others. We shared ours with our families, but you could invite another class, school staff, or members of your community.
This project also works well for a STEAM expo, science fair, or open house. You can even make it hands-on, by setting up a mini-makerspace and providing materials for visitors to create their own leprechaun traps.
Easy Leprechaun Traps – Ready, Set, Go!
I hope you are now able to envision doing this project with your class and might consider giving it a try! It really is loads of fun and full of great STEAM learning opportunities.
To make things EVEN easier, I’ve put everything together in this Ready, Set, Engineer resource, to guide you through all of the above steps in greater detail. You’ll also find printables that kids can use to document their learning journey including a engineer’s notebook, design sheets, and a simple one-page set of lab notes.
Wishing you a happy St. Patrick’s Day full of fun and learning!
For more engineering-design or science ideas, visit the Growing with STEAM category in the Roots & Wings resource library.


 Animal Research Projects Step-by-Step
 My Biggest Challenge with a Classroom Makerspace
 Growing Our Thinking Around Matter
 A Fall Nature Walk: Before, During, & After Activities