Classroom Setup Using Zones
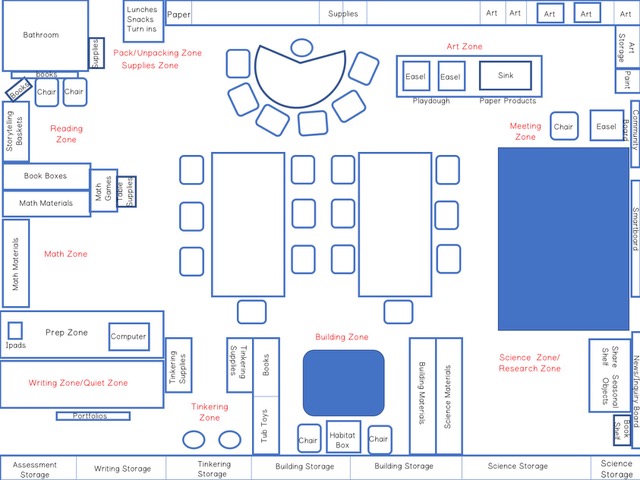
In Kindergarten Classroom Setup Made Easy Part 1, I shared my plan for classroom set up in “zones” and shared my free Classroom Set-up Planner.
In this post, I show you the down and dirty process I went through in creating those zones!
(Note: I’ve been adjusting to life at home without any children for the first time ever and I think I needed a project to throw myself into and this was it!)
3-Steps to Classroom Setup
Step 1 Sort Your Stuff
The first step was to unpack everything and place it in the zone in which it would be used and stored. This made it easier to get started and helped me avoid that, “where do I begin” feeling.

In doing so, I emptied every cupboard and closet.
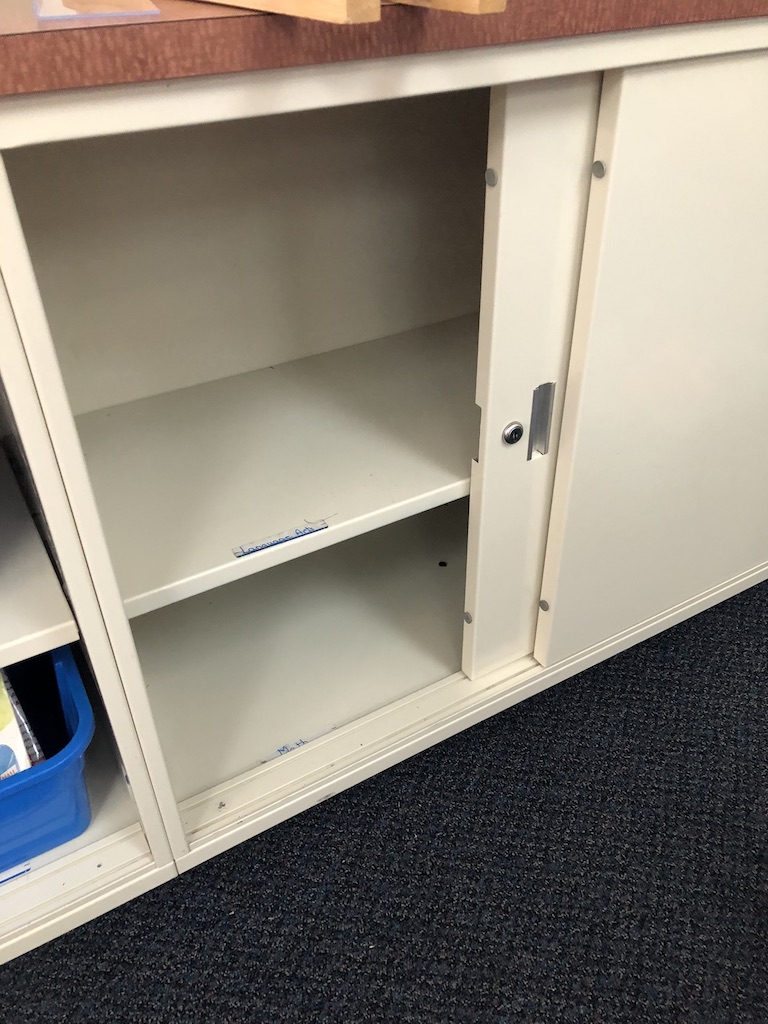
Step 2 Organize Each Zone
Once everything was sorted, I went zone by zone and began to put things away. This was probably the most difficult part of the kindergarten classroom setup process.
I had to think about how often I used certain materials, how much space they took up, and whether they were really worth keeping.
I liked the idea that some materials, that had been hidden away in cupboards, might now get more use since they would be more accessible and stored in their appropriate zone.
While I wanted things to be out and easily accessible to both the children and I, I didn’t want the visual clutter, so in many cases I “containerized” stuff rather than just placing them loosely on shelves.

These baskets were a great deal. One had a $1.99 sticker on it and the cashier at the Christmas Tree Shop let me buy all 6 for that price! #MerryChristmastome
I also had to consider which materials were going to be open and closed to children in each zone so that I could be intentional about what I offered at any given time.
It was also important (and challenging!) to leave some empty space in each zone to set up and rotate out new invitations throughout the year.
Step 3 Add Soft Touches
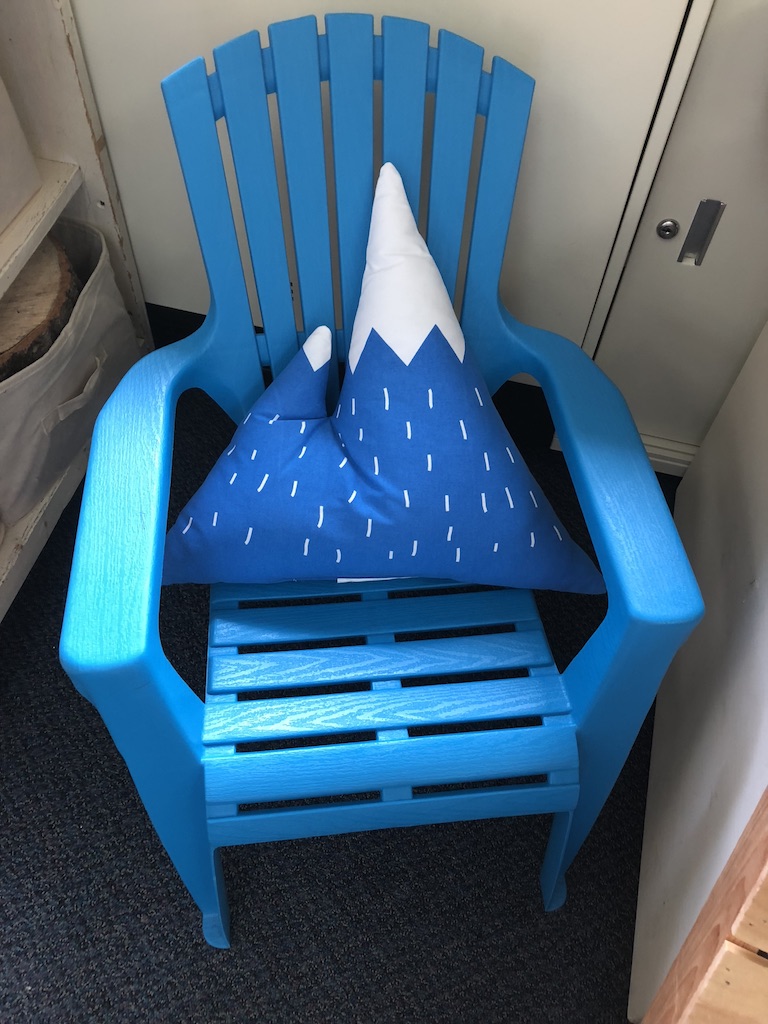
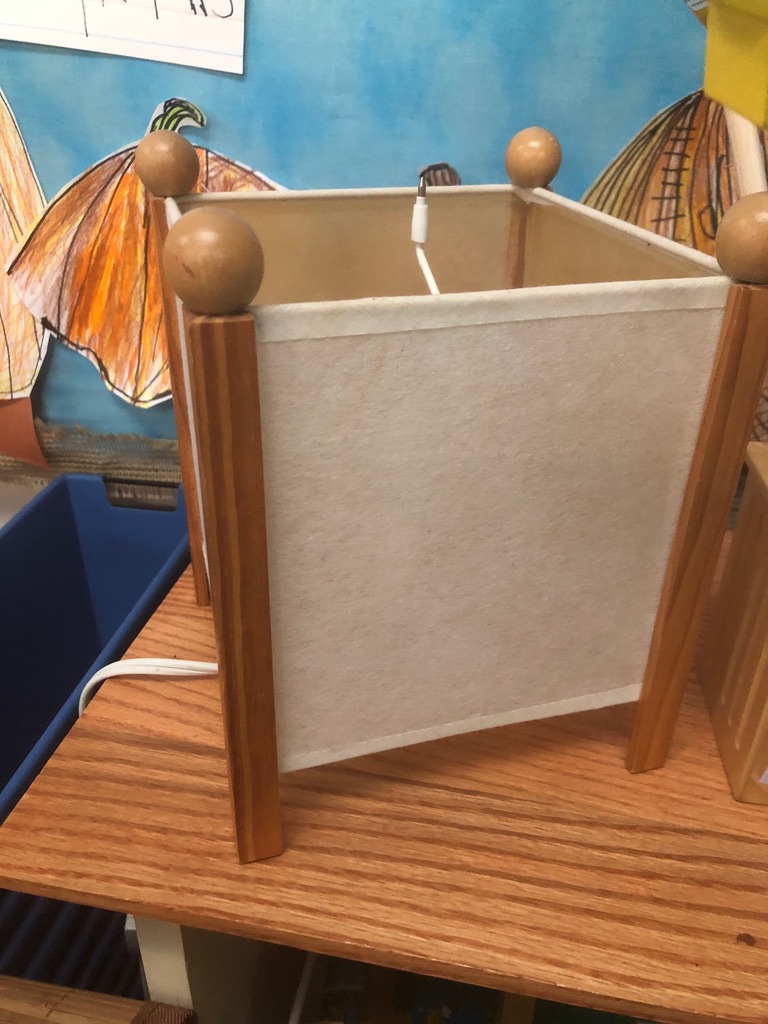
I think of this step as the “dessert” of the kindergarten classroom setup process! I added seating options, pillows, lighting, rugs, and plants to soften the zones and make them more inviting.
Take The Classroom Zone Tour
This process took about 5 days and involved evening trips to Walmart, Big Lots, and The Christmas Tree Shop to find just the right storage containers. I found it helpful to have pictures of each zone “in progress” on my phone and a measuring tape in my purse to use while out shopping.
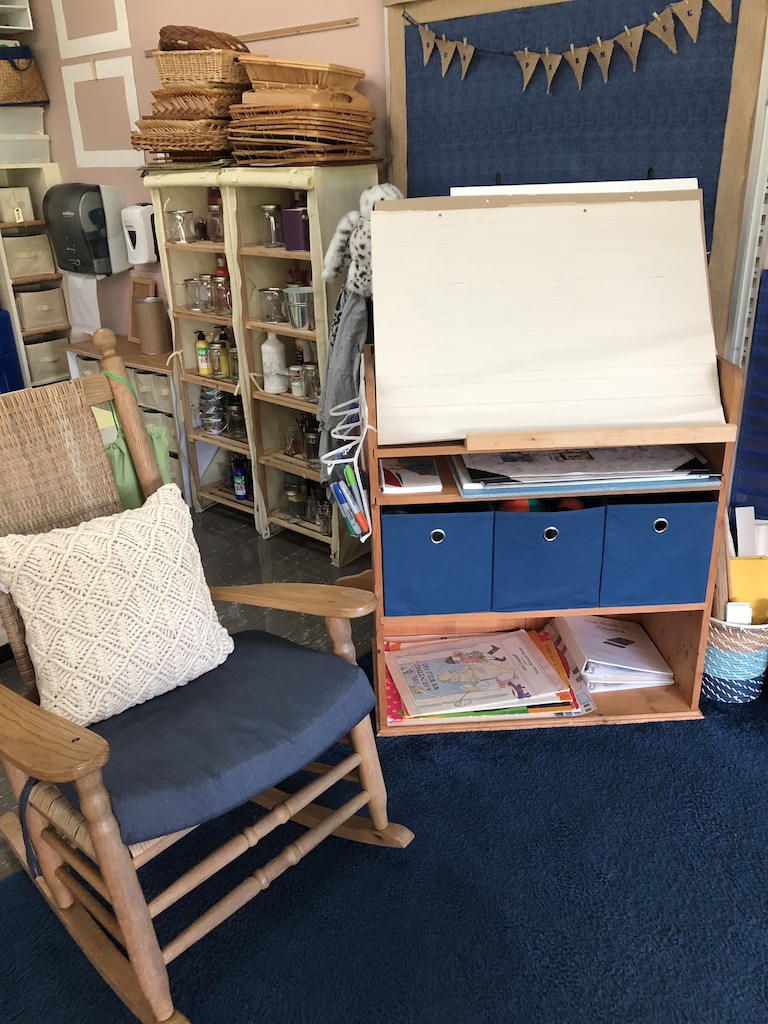
Here are the “done enough” zones as they looked before the start of the school year!
Meeting Zone
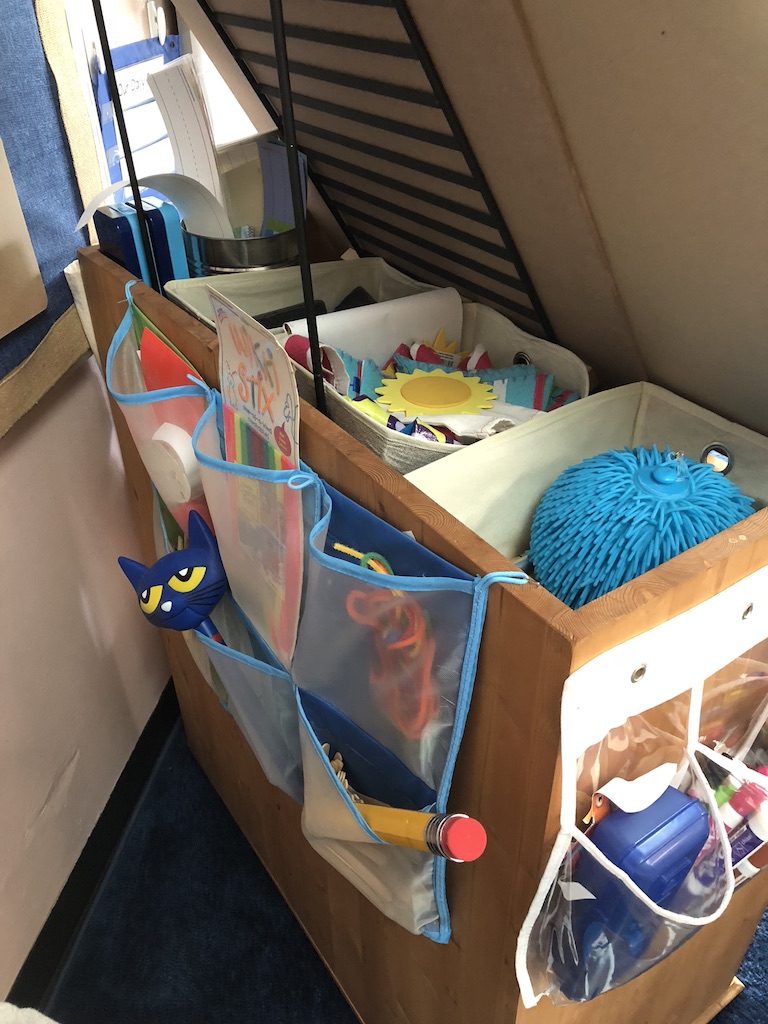
Unpacking/Packing Zone
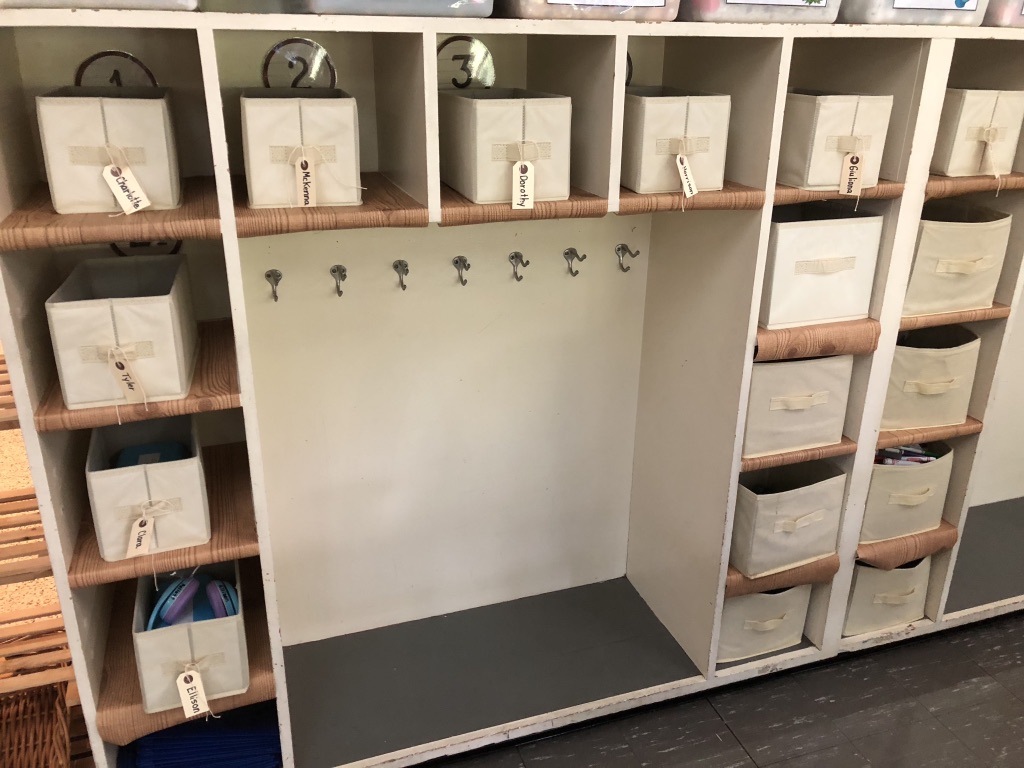
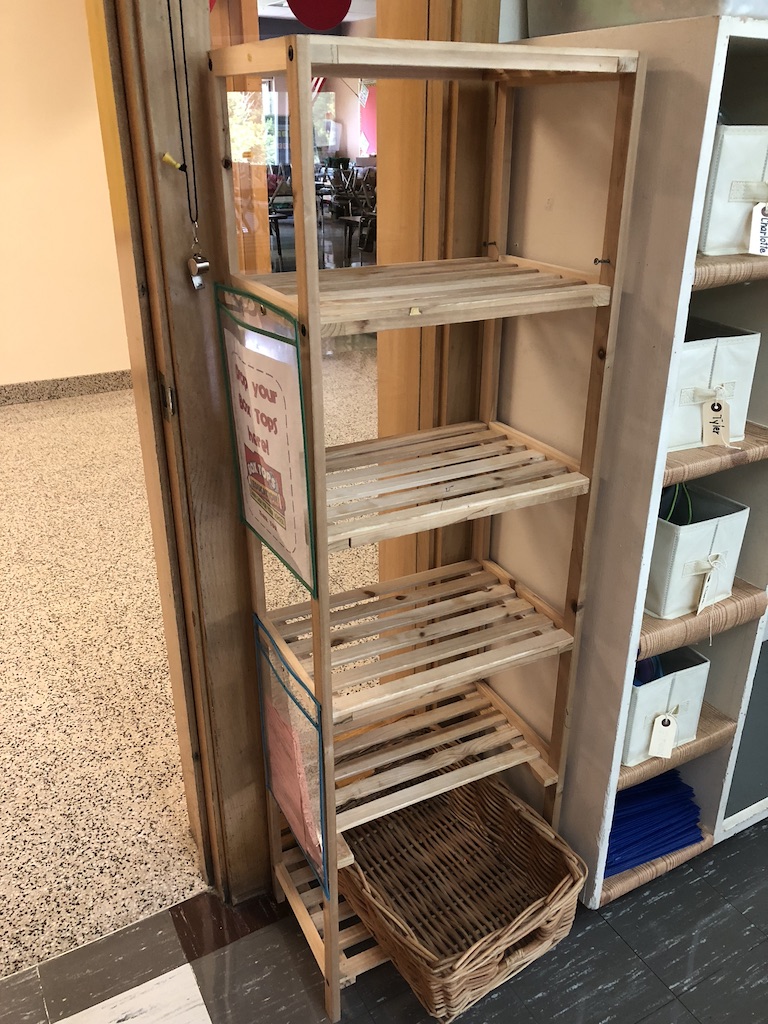
Supplies Zone
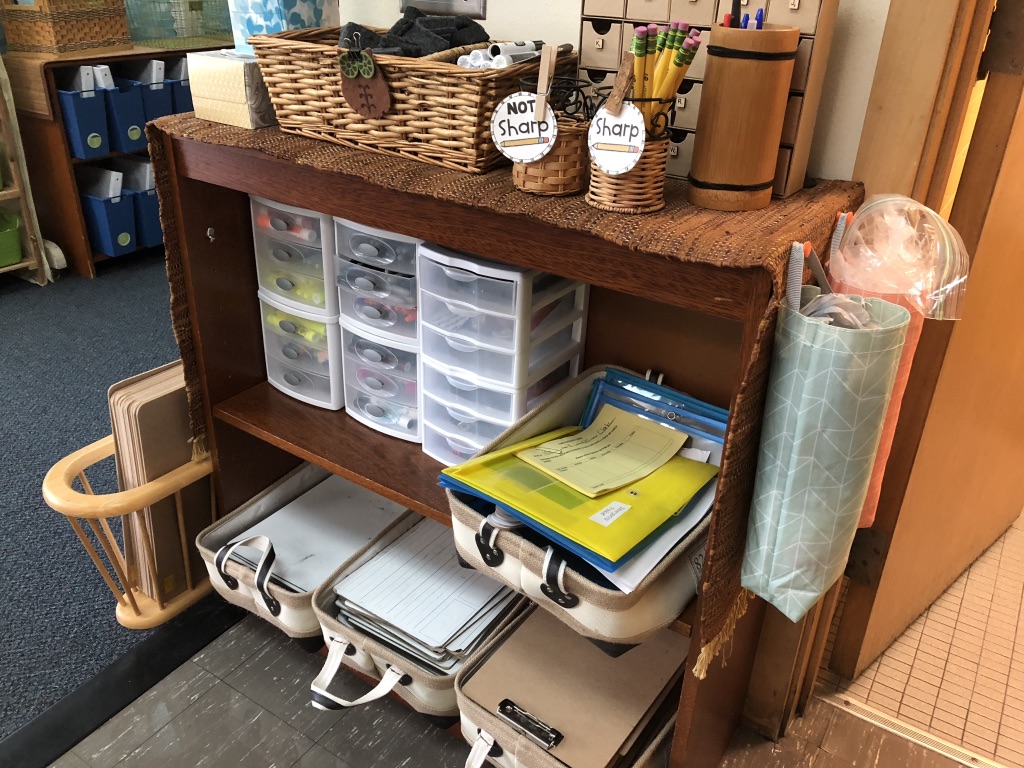
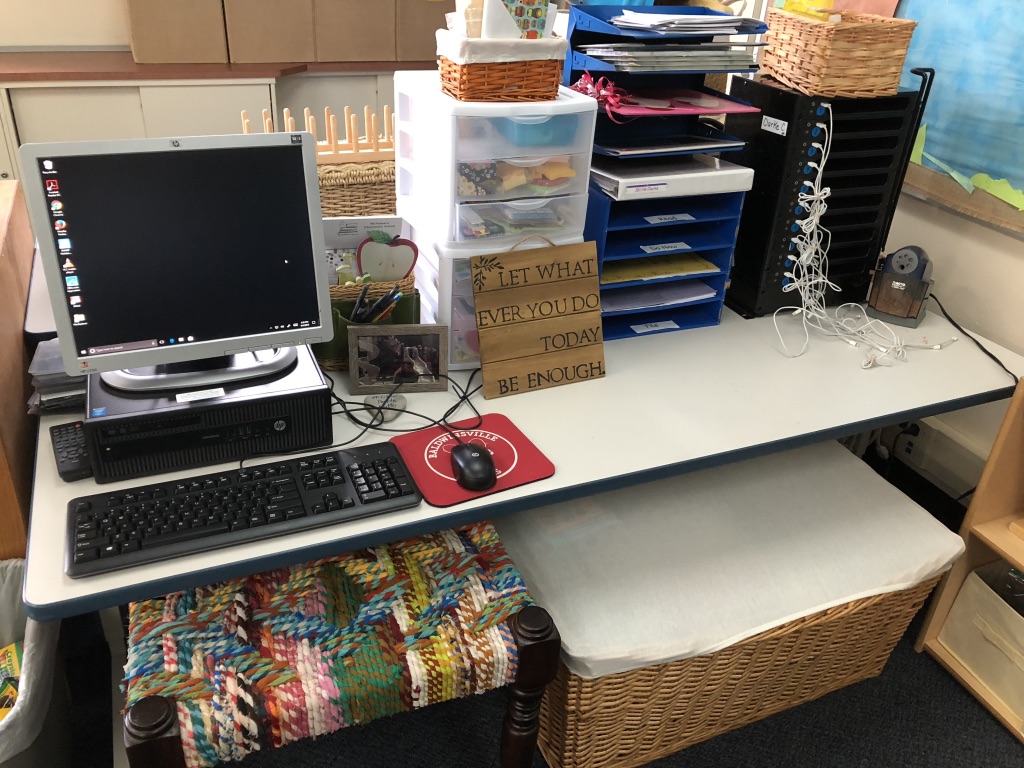
Teacher Zone
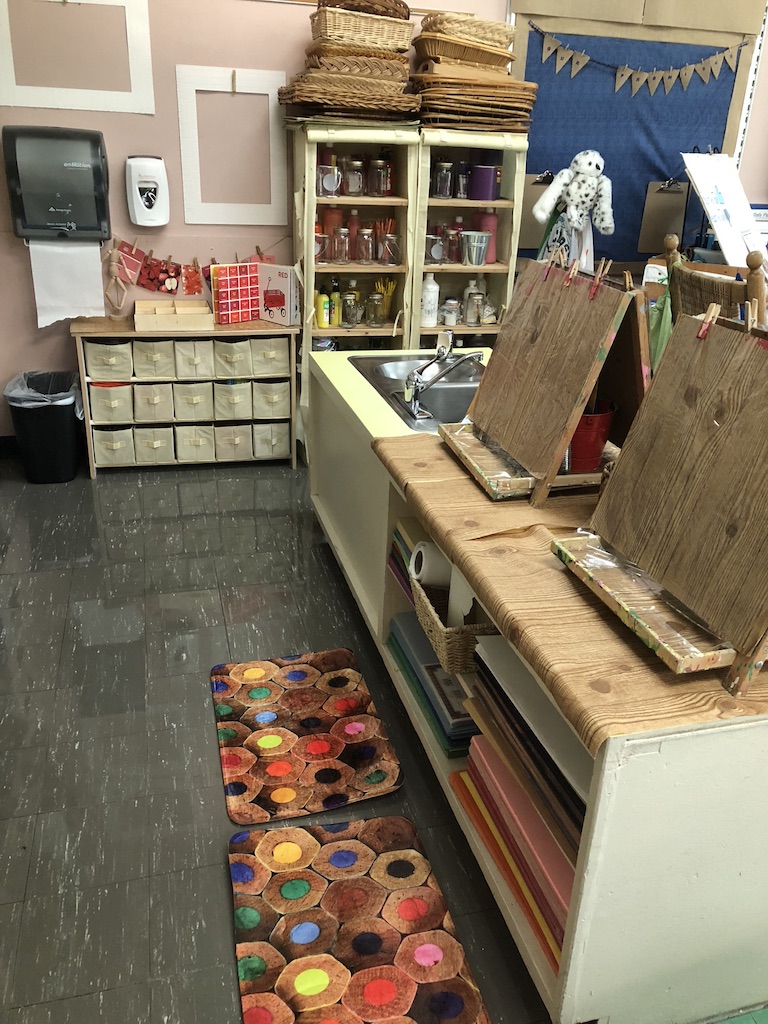
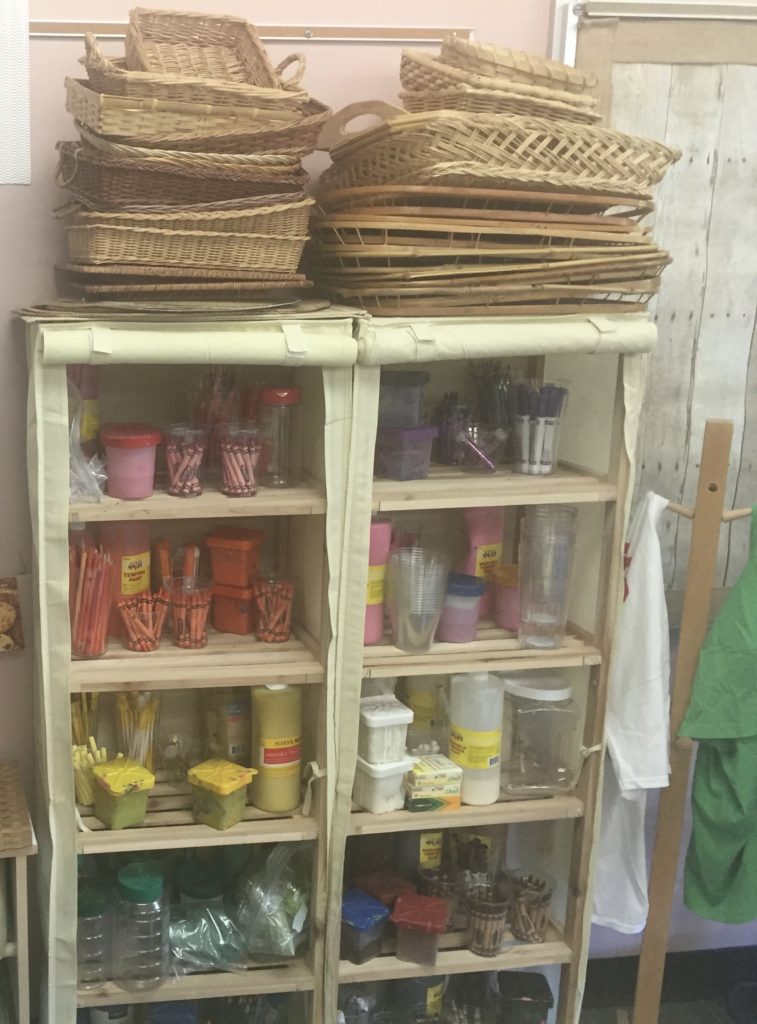
Art Zone
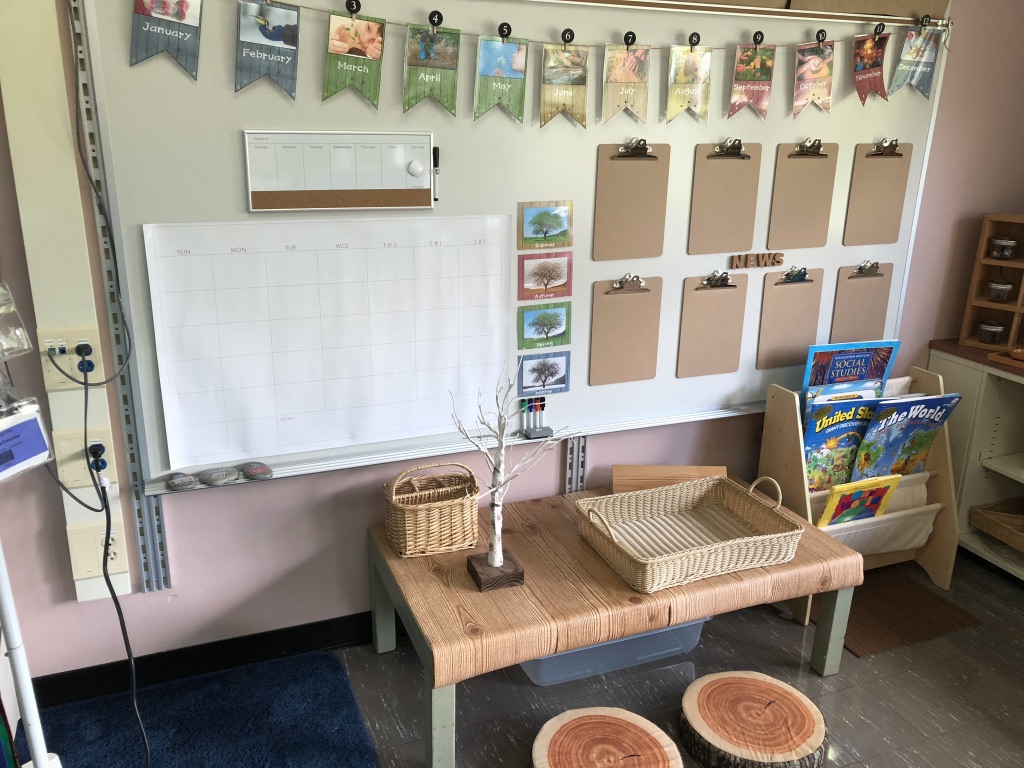
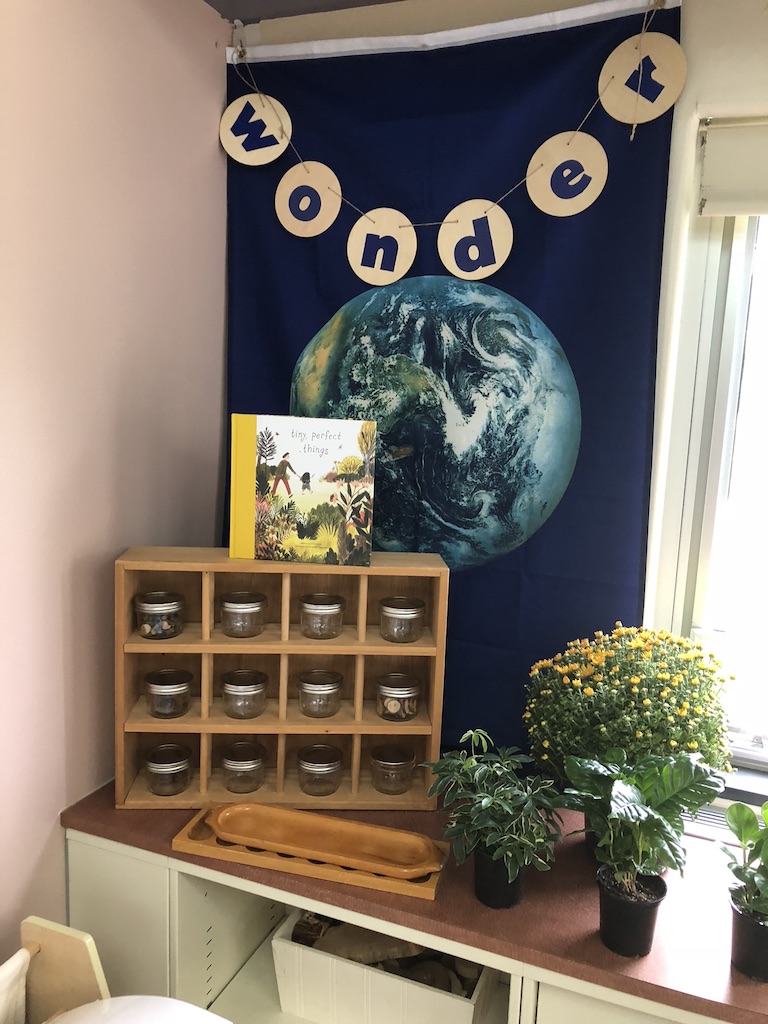
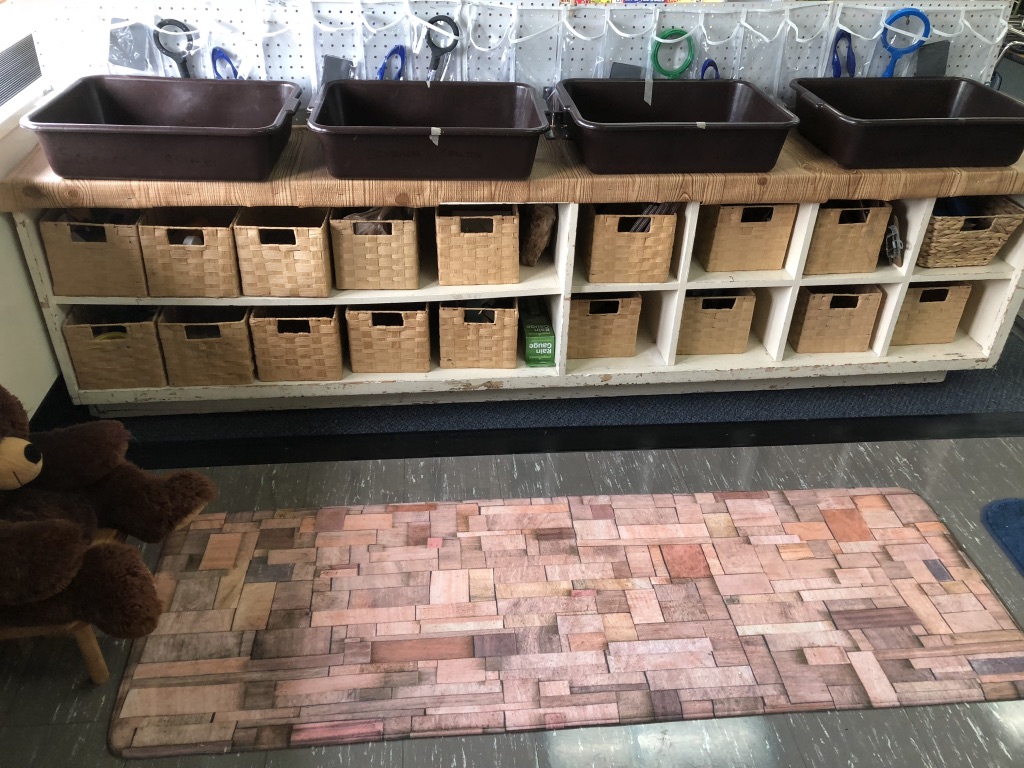
Science/Research Zone
Building Zone
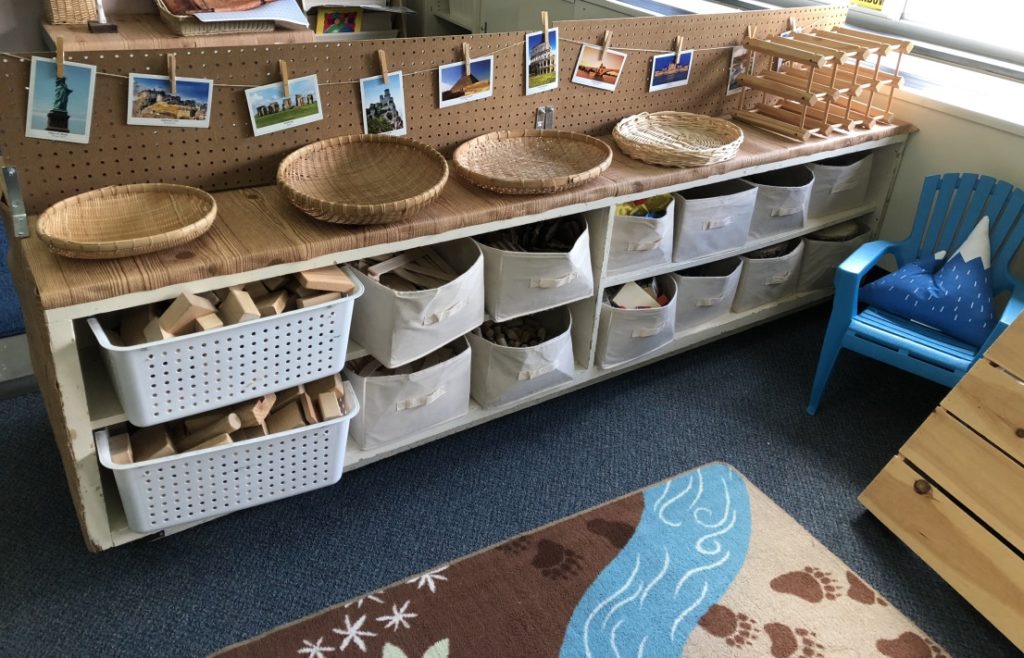
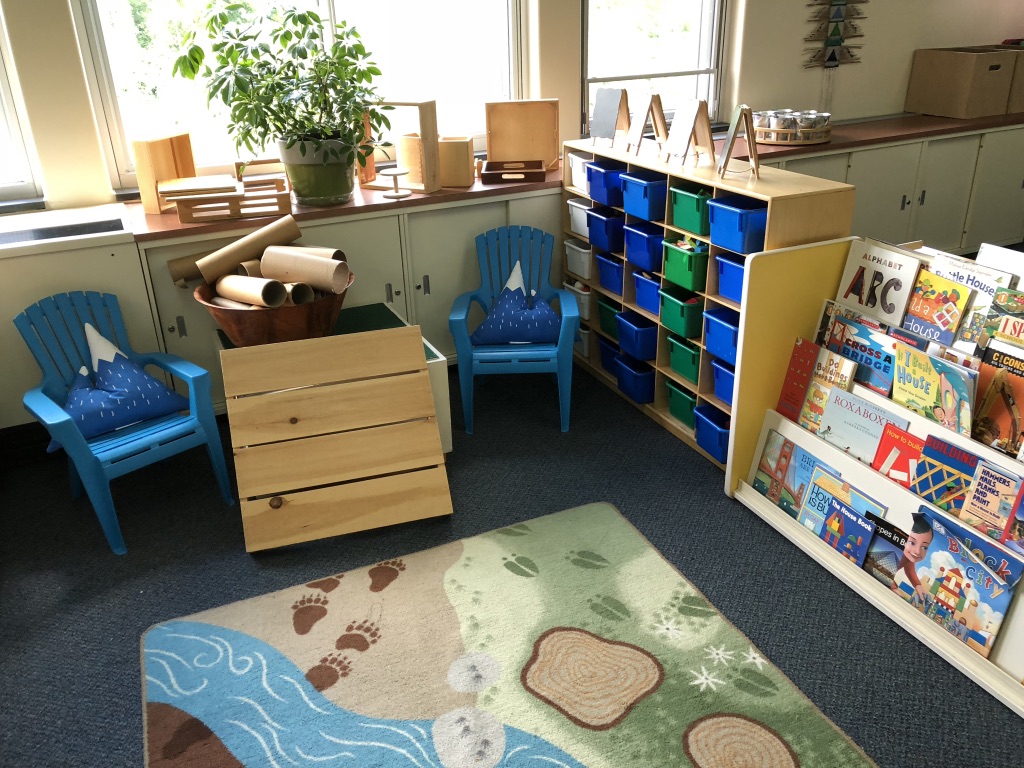
Makerspace Zone
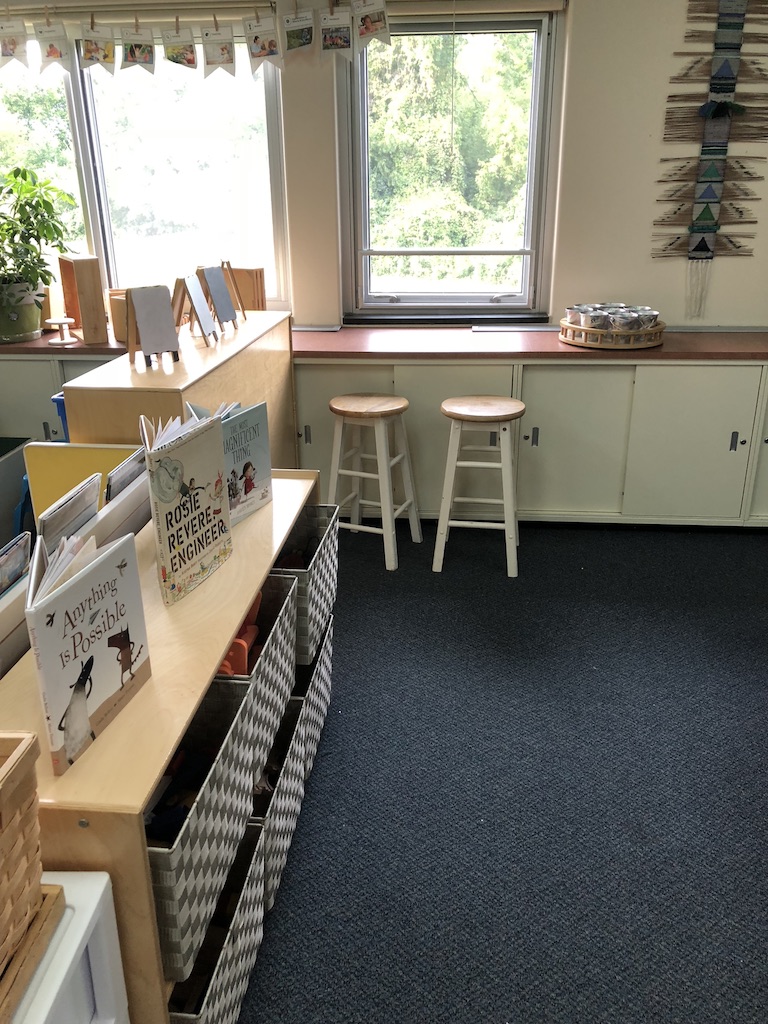
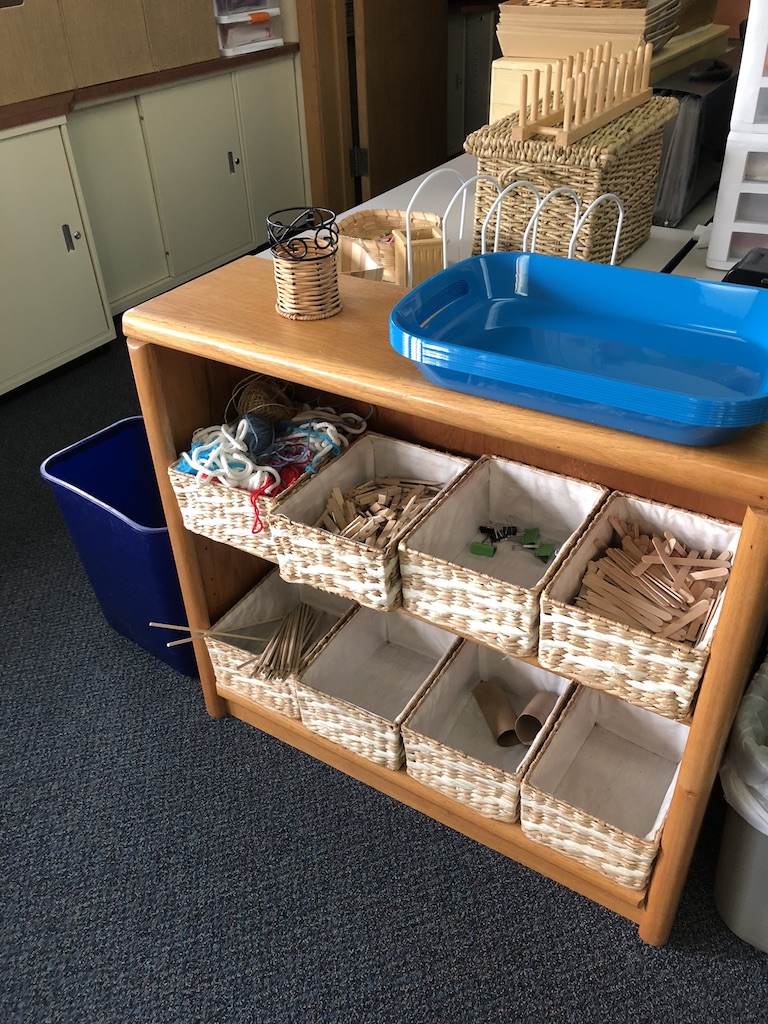
Writing Zone/Quiet Zone
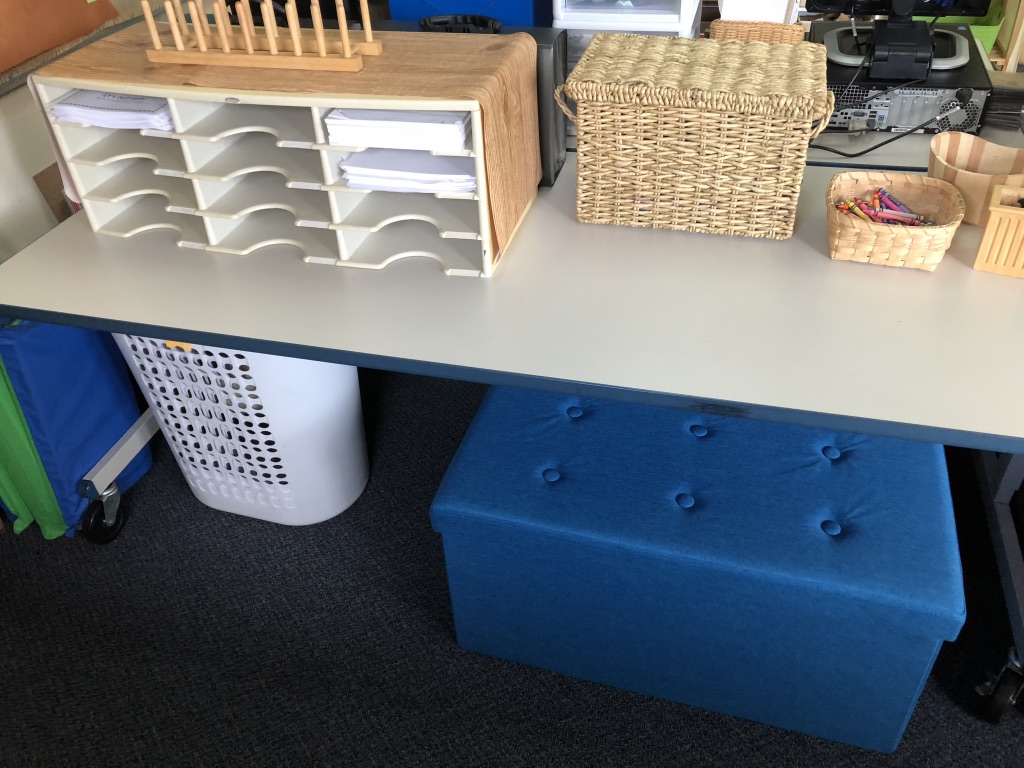
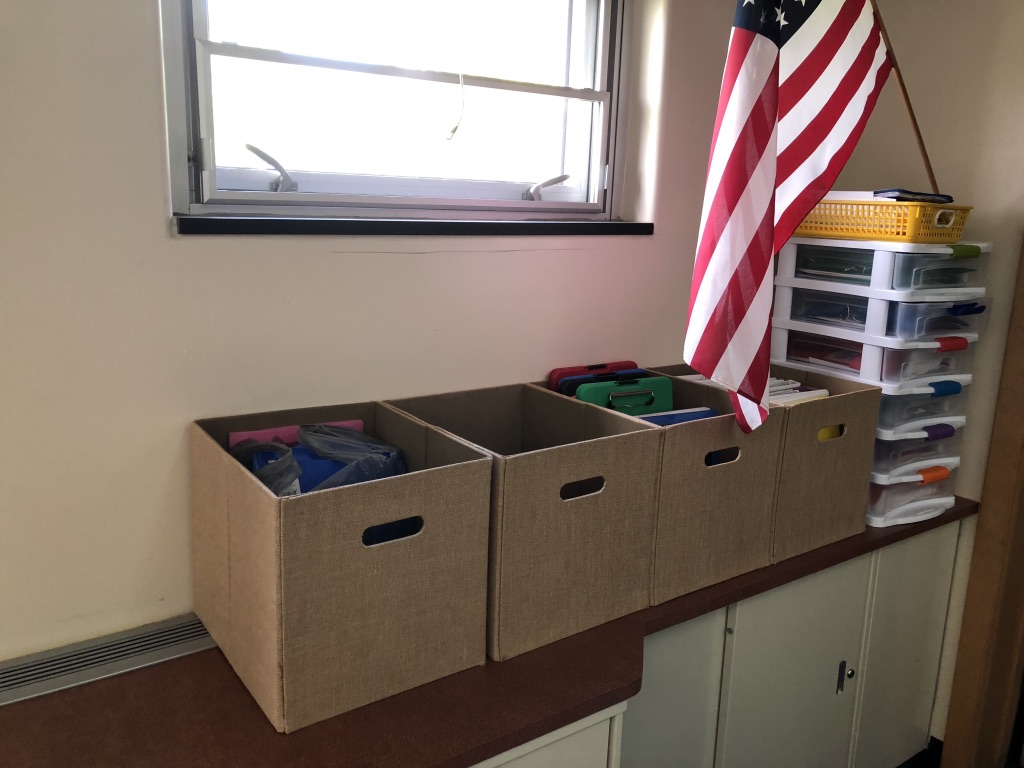
(It occurs to me as I look at this picture that this is probably not the best place for our flag – it was placed there before I moved into this space and until this very moment, I have never given it a second thought. The lesson here is to take pictures of your space and you will see things you otherwise overlook!)
Math Zone
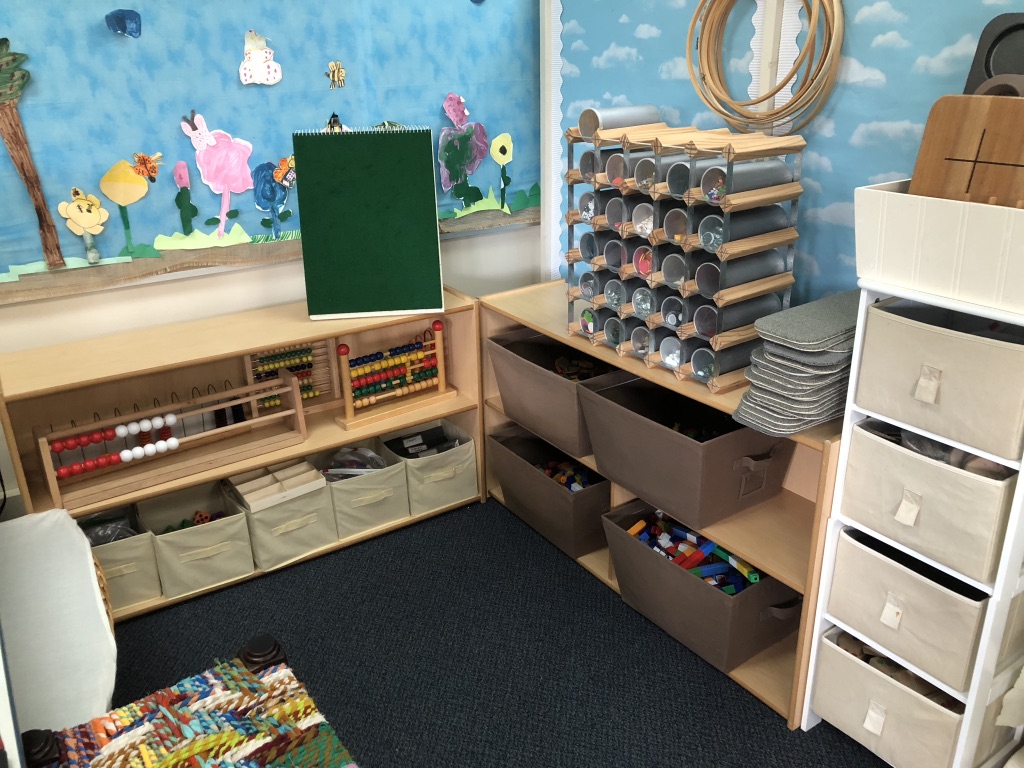
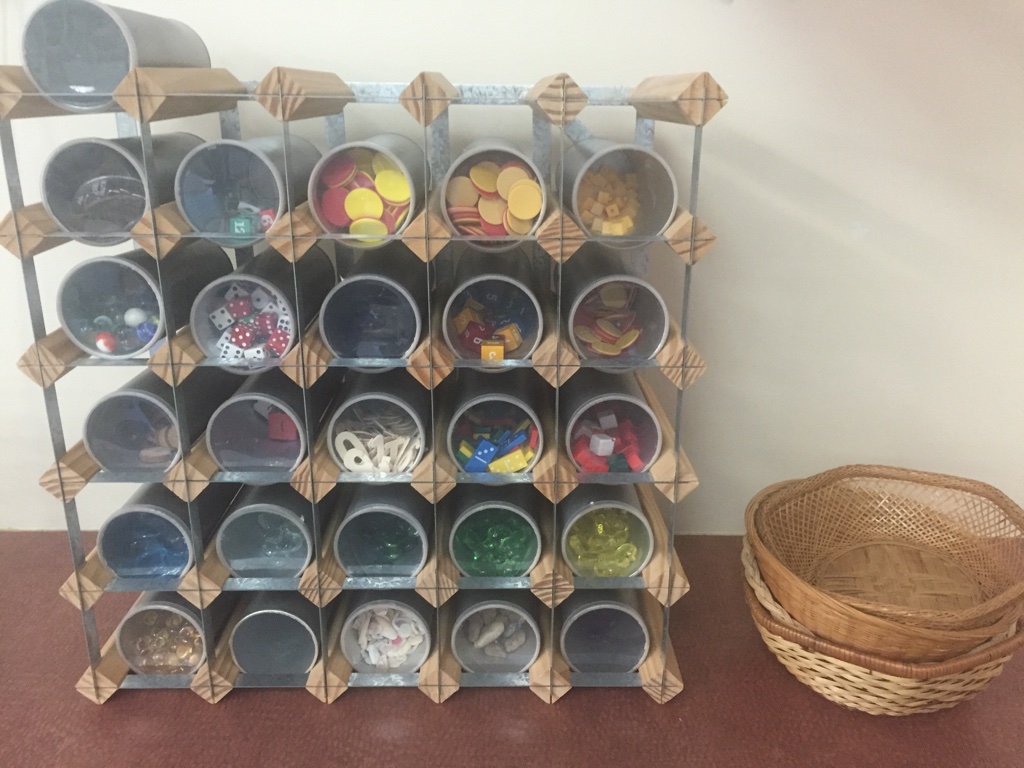
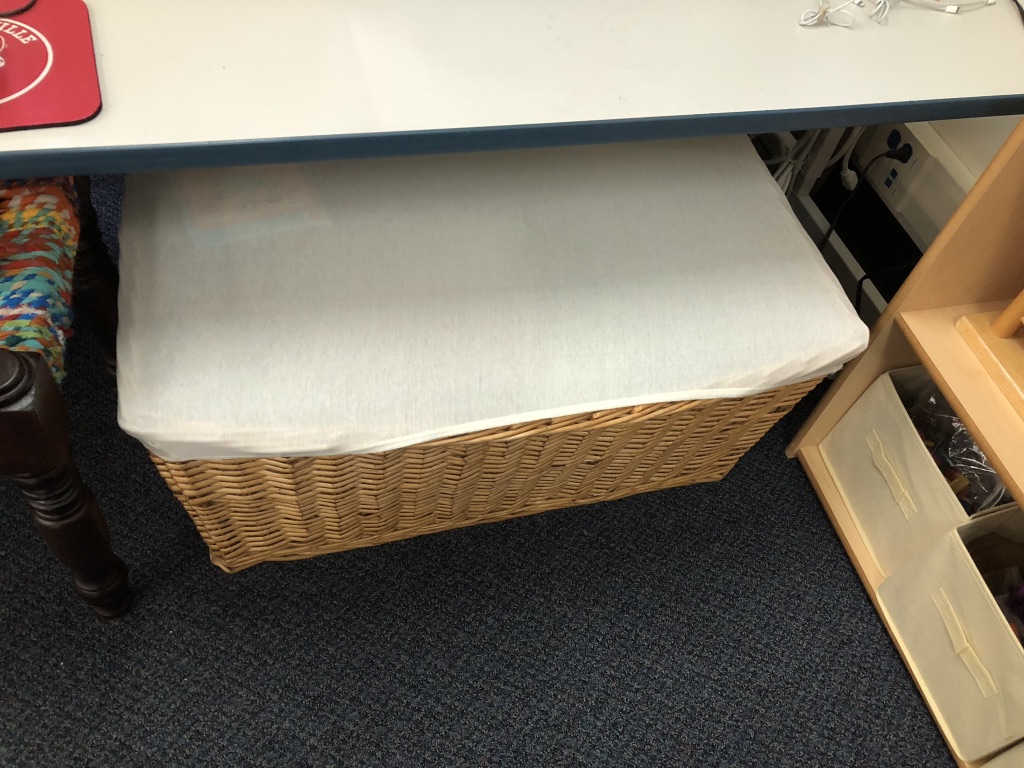
Reading Zone
The linen baskets on the bookshelf will hold storytelling props that children can use to retell stories that we have read together.

Another shelf holds the children’s book boxes. Felt boards and felt stories will be kept on the top shelf.
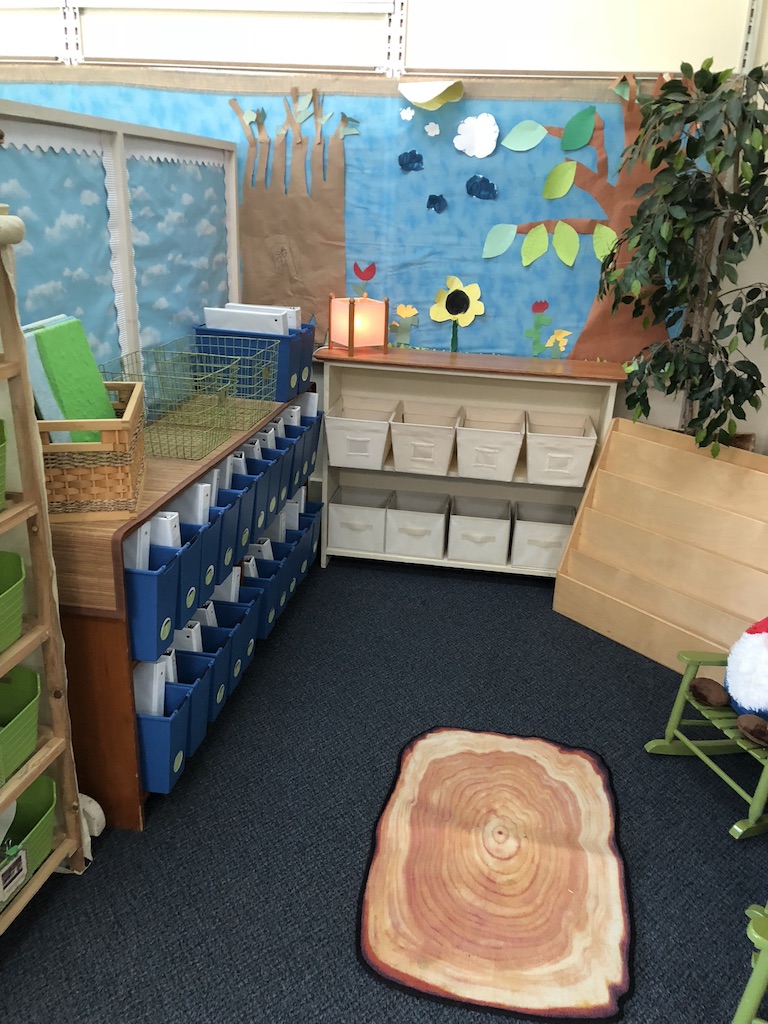
Kindergarten Classroom Setup √
So that’s it – but setup is never quite done until the children arrive and begin to use the space!
This process definitely raised my awareness about storage and use of materials and I’m sure I’ll continue to tweak things as we move through the year.
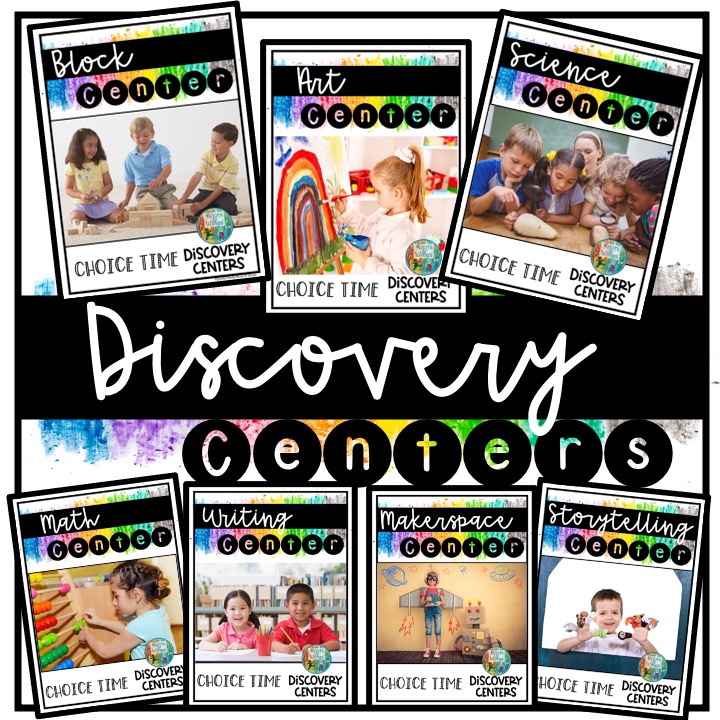
If you are looking for more guidance on creating centers these Classroom Center Setup Guides can help! Each one focuses on a different center (blocks, art, makerspace, science, storytelling, and writing) and walks you step-by-step through the setup process.
To find more classroom organization and setup ideas, visit the Growing a a Learning Space Category in the Roots & Wings Resource Library.



 Room Tour: Play-Based Centers for Kindergarten Choice Time
 Science Center Activities That Your Kiddos Will Love
 The Magic of Tidying Up – Classroom Style!
 5 Steps to a Classroom Calming Corner for Social-Emotional Needs
I’m new to the primary world and getting ready to so something similar to my classroom this year! I so enjoyed reading about your process!
Hi Kelsey! I’m so glad you enjoyed this post. That process continues to work well for me. Would love to hear about your process too -feel free to share!