
If you are looking for a holiday craft that is last minute, this is not the craft for you!
However, if you are looking for a DIY project that both children and parents enjoy and have some time to devote to it, you might find these cookie plates to be just what you are looking for!

This was the holiday gift that my K team shared with me the first year I began teaching kindergarten and I’ve been doing it ever since! Here I break it down for you step by step!
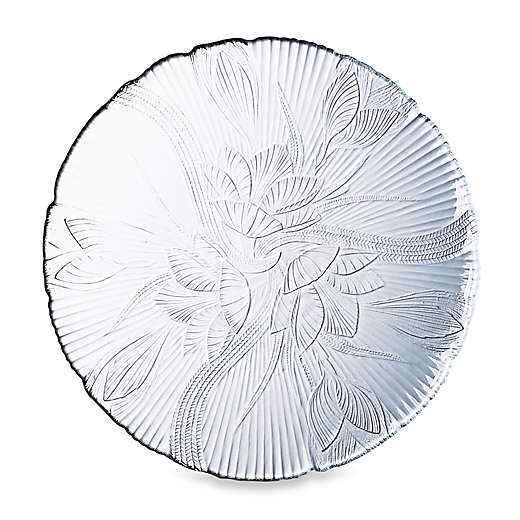
Step 1: Order the Plates
These plates came from Bed, Bath, and Beyond and are called Canterbury Dinner Plates. You can find plates elsewhere, but just make sure they don’t have a rim around the bottom – they need to be flat (made that mistake before!). The plates can be shipped right to your school, which saves some heavy lifting, but beware that the custodian might think you are spending too much online and sending your purchases to school so your husband won’t see them! (hee hee!)
I collect $3 from each child to cover the cost of the plates. Remove the tags from the plates (or deligate this task if you have parents or a teaching assistant that might be willing to help!)
Step 2: Handprints
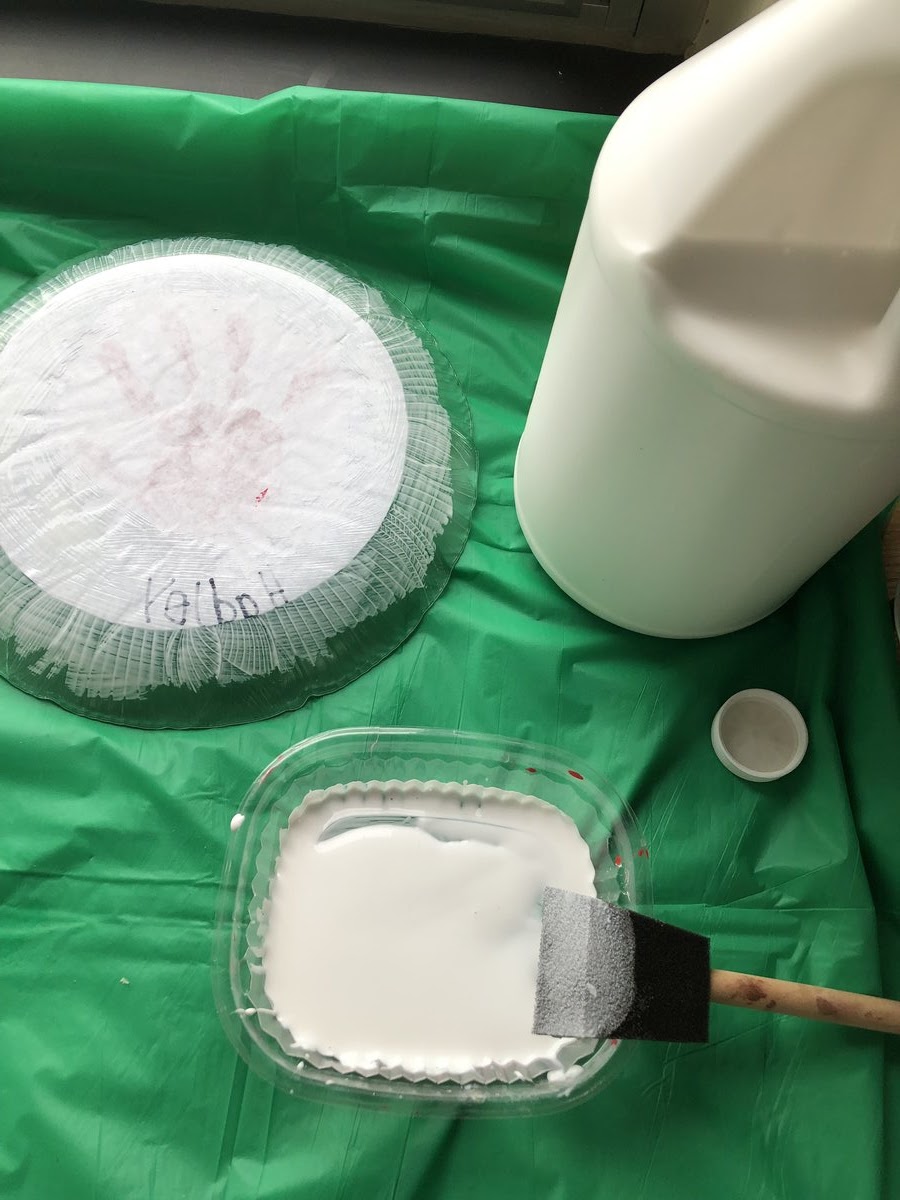
Trace and cut white circles, about the size of a Cool Whip lid, onto white copy paper. Have each child put their handprint in the center and write their name at the bottom using a Sharpie.

Step 3: Attach Handprint
Brush Mod Podge (I buy the gallon size) over both sides of the handprint circle. Affix to the back of the plate.
Step 4: Cut Tissue Paper
Cut squares of tissue paper – any colors or patterns that you like! I usually mix a few patterned ones with solids. Try to avoid tissue paper that has a right and wrong side to make it easier for the children.
Step 5: Create Tissue Paper Border
Cover your tables with cheap plastic tablecloths from the dollar store. Give each child their plate, face down (they will be working on the back of their plate). Show them how to attach the pieces of tissue paper around the border of the plate until all the clear glass is covered. You may want to do this in small groups vs. whole class. I usually do 6-8 kids per day for 3 days.


Step 6: Cover with Mod Podge
Spread a coat of Mod Podge over the back of the plate, smoothing out the tissue paper. Let it dry. Repeat 2 more times.

Step 7: Trim edges
Once dry, trim the edges of the plates with scissors or an exacto knife.
Step 8: Send home
I wrap the plates and carefully place them in the children’s backpacks to send home. There is usually a lunch box and/or sneakers in there to provide a good “cushion” for the plate.
I let the children decide how and when they want to give their gift. Some choose to give it right away, while others place it under the tree until Christmas.

There isn’t a year that goes by that I don’t hear from parents about how much they appreciate this gift. Most take the plate out each year and use it for cookies. Some hang it on their wall.
While it’s a bit labor intensive, I have yet to find a Christmas craft I like better.
What’s your favorite Christmas craft?
Thanks for stopping by!

If you found this post helpful and think others might too, please consider sharing it on your favorite social media platform!
 25 Ideas, Resources, and Projects for Learning Together in October
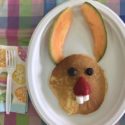 Kindergarten Bunny Brunch
 Christmas Kindness Countdown Calendar
 Routines & Rituals to Welcome the Month
What type of paint do you use for the handprint?
I use tempera paint.